Generating ACH Payment file
eZ Payment can pull payment information from QuickBooks for the generation of ACH Files based upon how the account has been configured.
eZ Payment will pull payments from the account selected over the last two days going forward for all Payees configured for ACH payments. If the payment has already been part of a payment file, it will not be displayed for generation of the next payment file.
The following outlines the process for generating the ACH File through eZ Payment. It assumes you have already created the payments in QuickBooks via Pay Bills or Write Checks.
Generating an ACH File from QuickBooks
Step 1: Launch eZ Payment from your desktop.
Launch eZ Payment Shortcut
Step 2: Select the Bank account for ACH File generation.
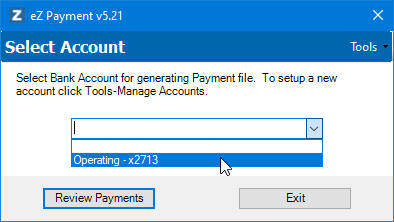
Select Account Window
Step 3: Click on the Review Payments button
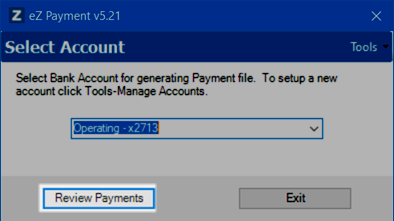
Select Account Window - Review Payments
Step 4: The Review Payments screen will be displayed.
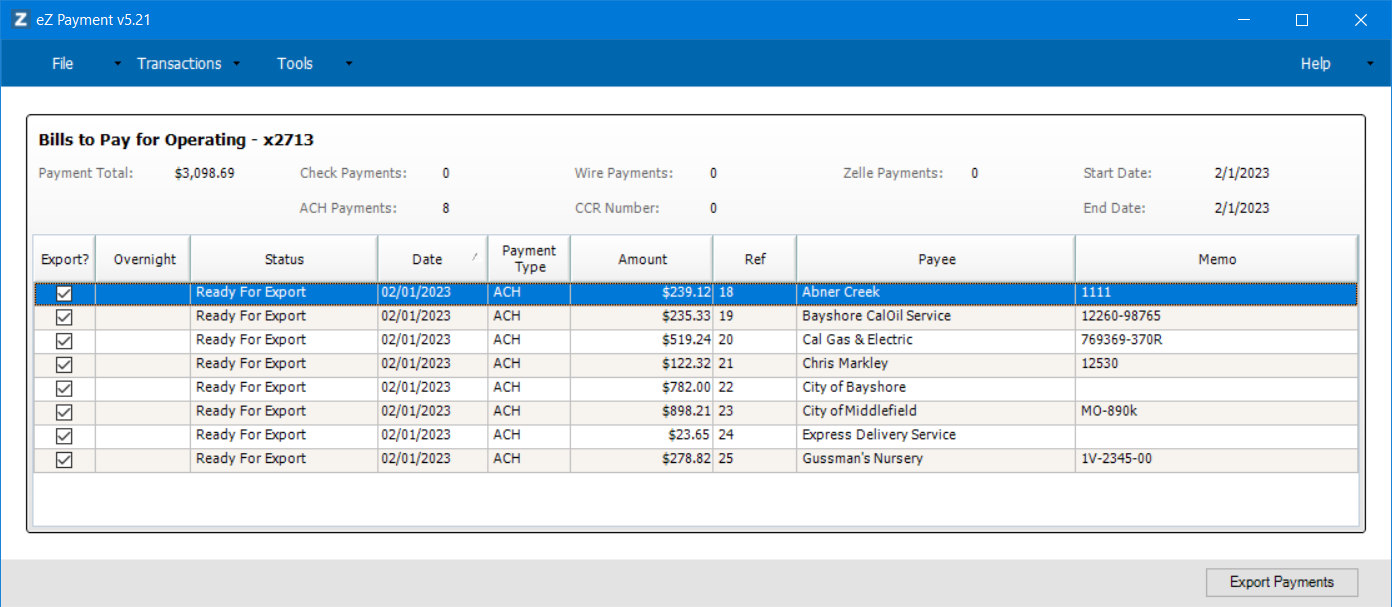
Review ACH Payments
- Payment date in QuickBooks is more than 2 days ago
- Payee has not be setup for ACH file
- Payment account in QuickBooks does not match account selected
The check box on the left controls whether payments are included in generated ACH. If a payment is not to be included, uncheck the box and it will not be part of the ACH File.
Step 6: Generate the ACH file from QuickBooks by clicking on the Export Payments button.
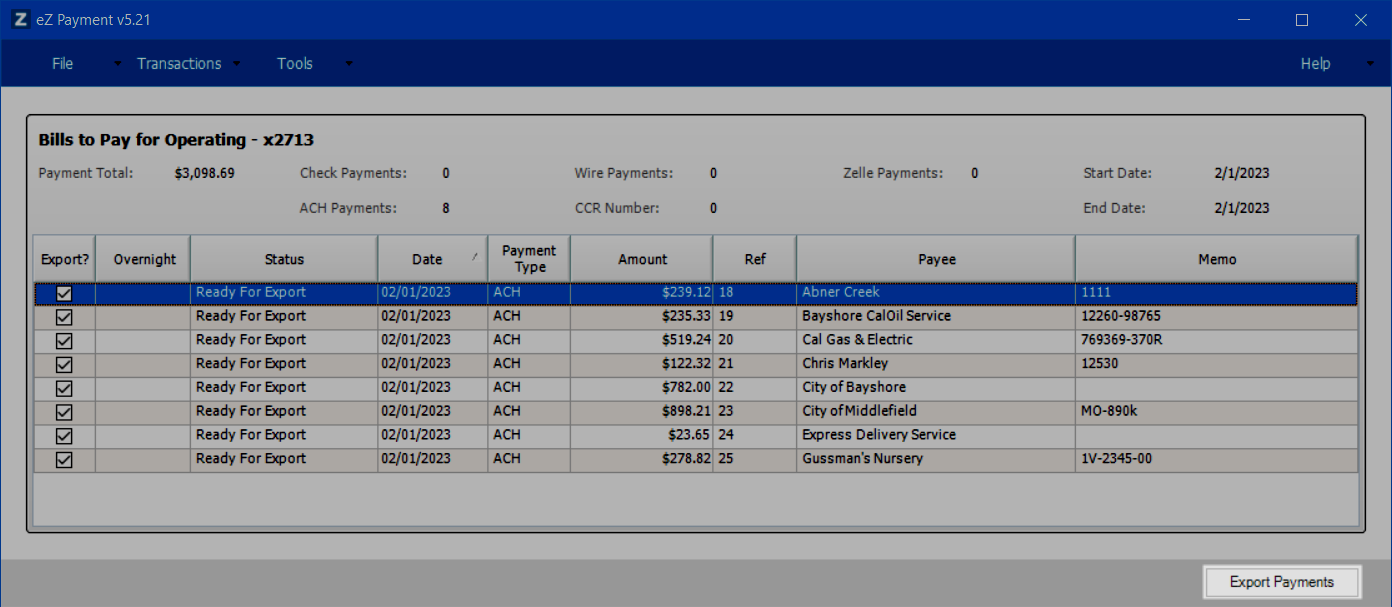
Export ACH Payments
Step 7: The save ACH File window is displayed. Select a location and name for the ACH file. Click Save button.
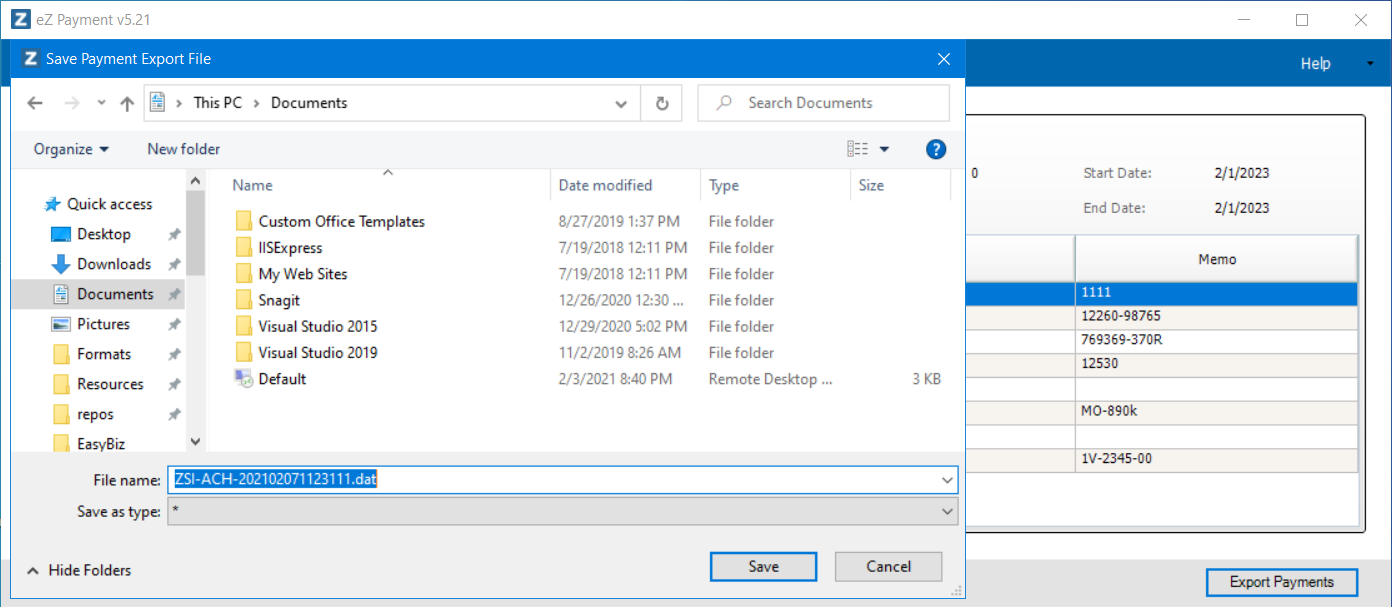
Save ACH File
Step 8: Export Confirmation Window is displayed.
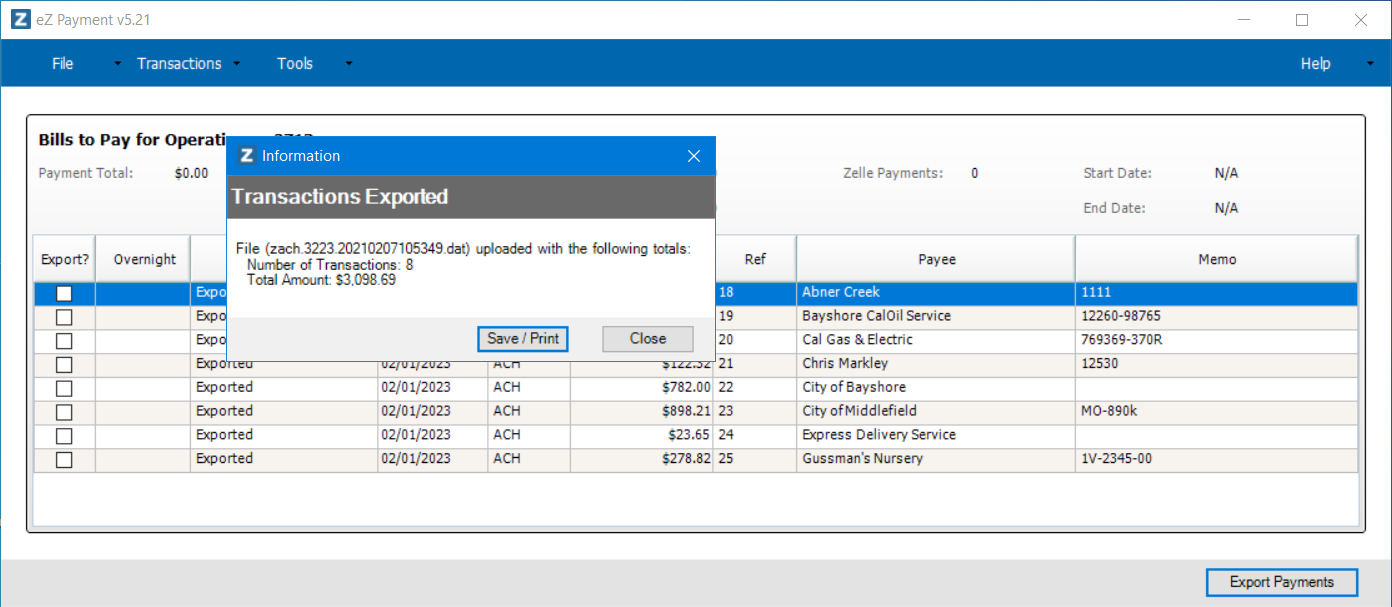
Export Confirmation Window
On the confirmation window, you can save or print details about the export by clicking the Save/Print button.
This allows the creation of an Excel/PDF of the payment details (THIS IS NOT AN ACH FILE) for your records.
Step 9: Click on the Close button and export will be complete.If Remittance Emails are configured eZ Payment will proceed to send them.
Step 10: Close the application by clicking on the X once email processing is complete.
Step 11: Upload the ACH file to your bank.