Adding a QuickBooks Desktop Account to eZ Positive Pay
This Guide will run you through setting an account in eZ Positive Pay with QuickBooks Desktop (Pro, Premier & Enterprise).
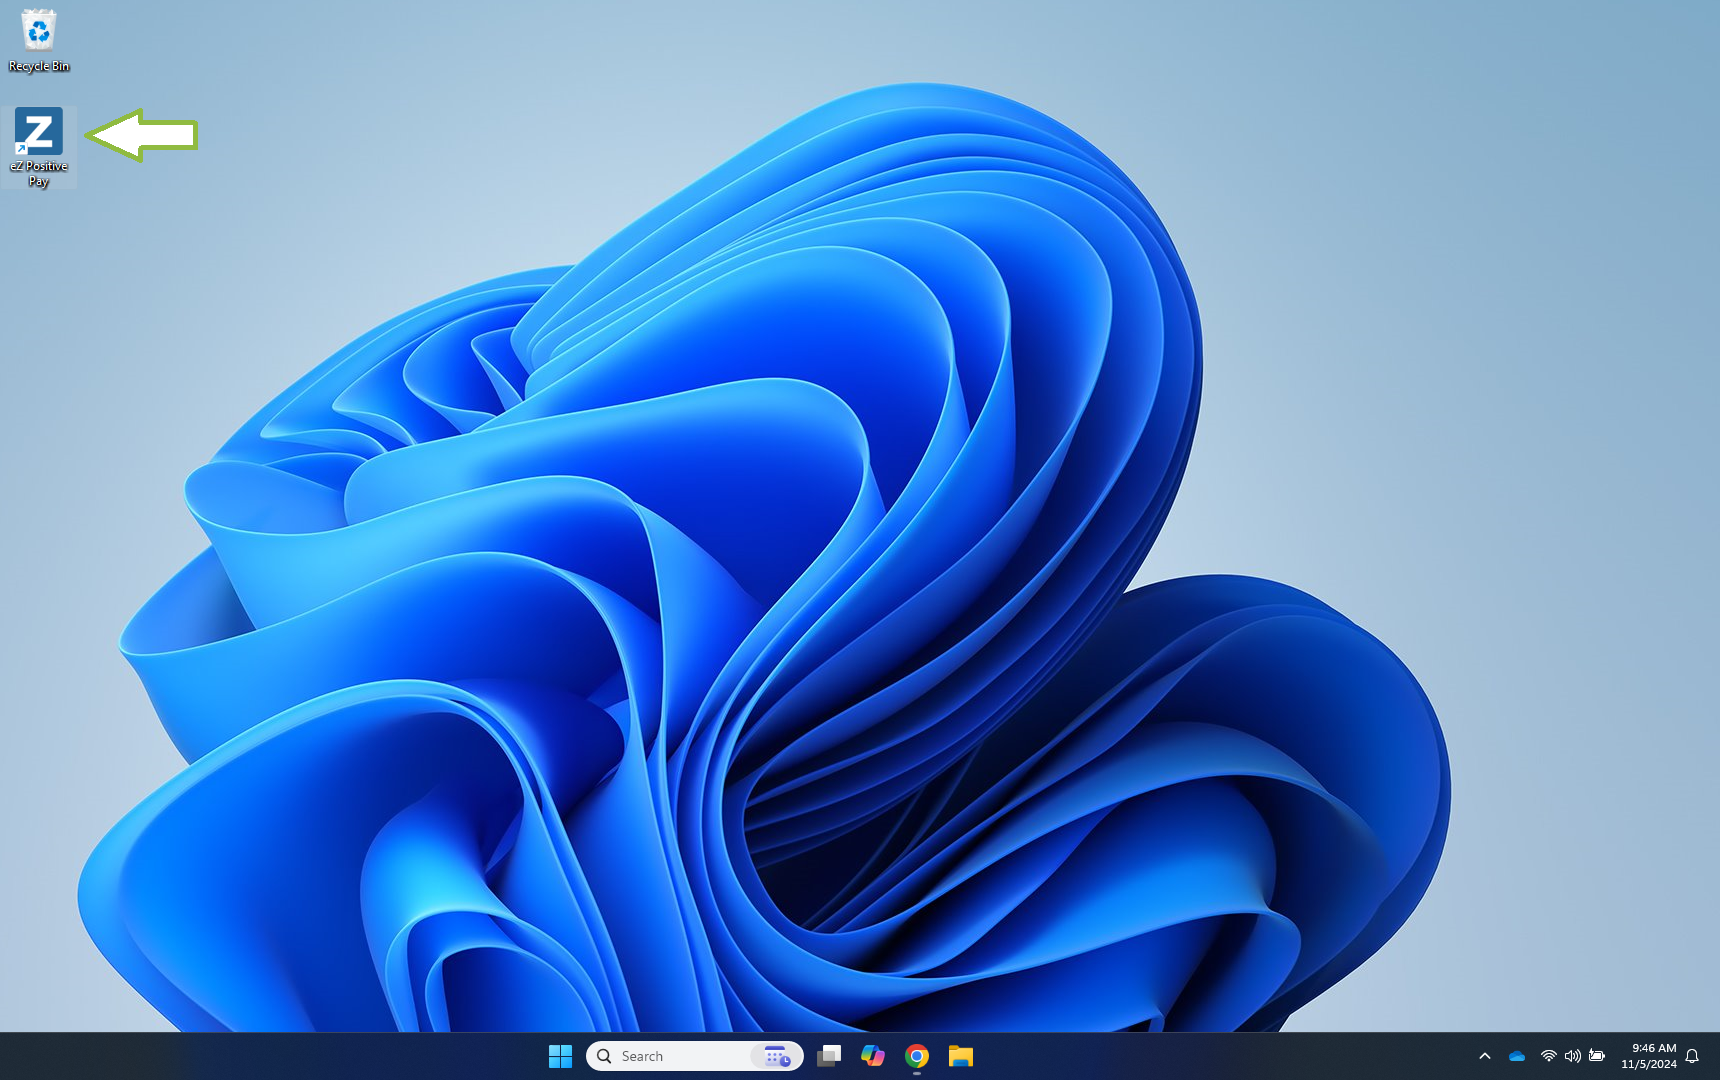
Launch eZ Positive Pay
Double-click on the eZ Positive Pay icon on your desktop.
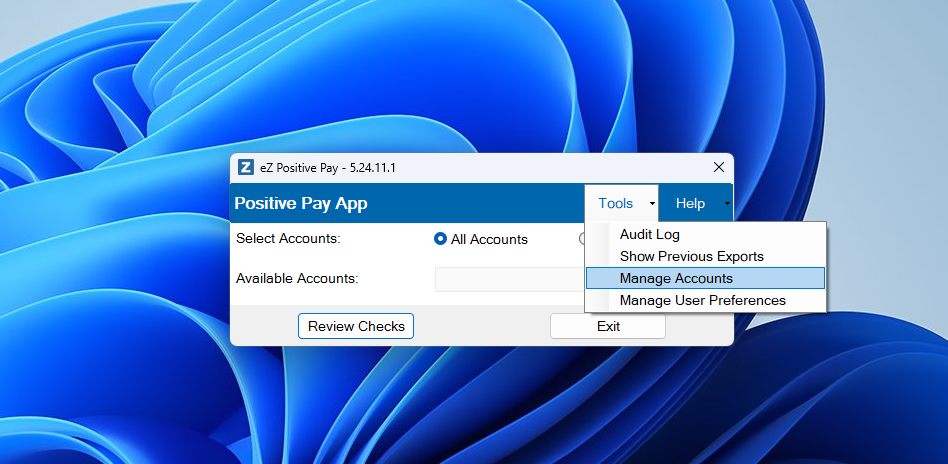
Manage Accounts
From the Tools menu, select the Manage Accounts menu option.
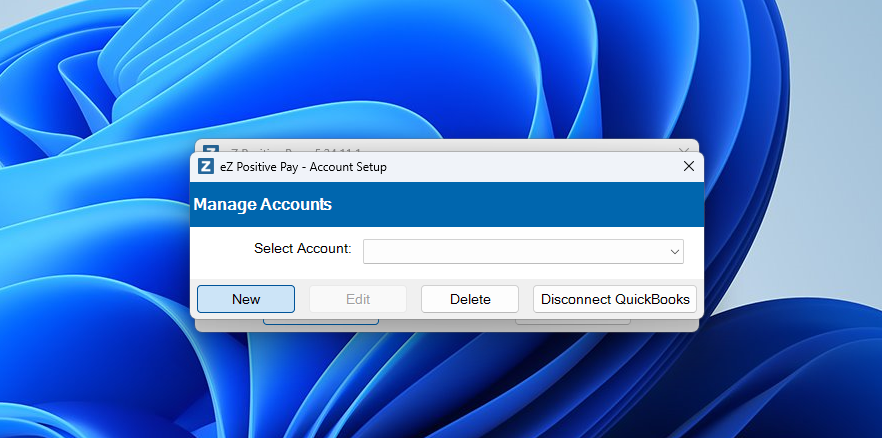
Create New Account
Click on the New button.
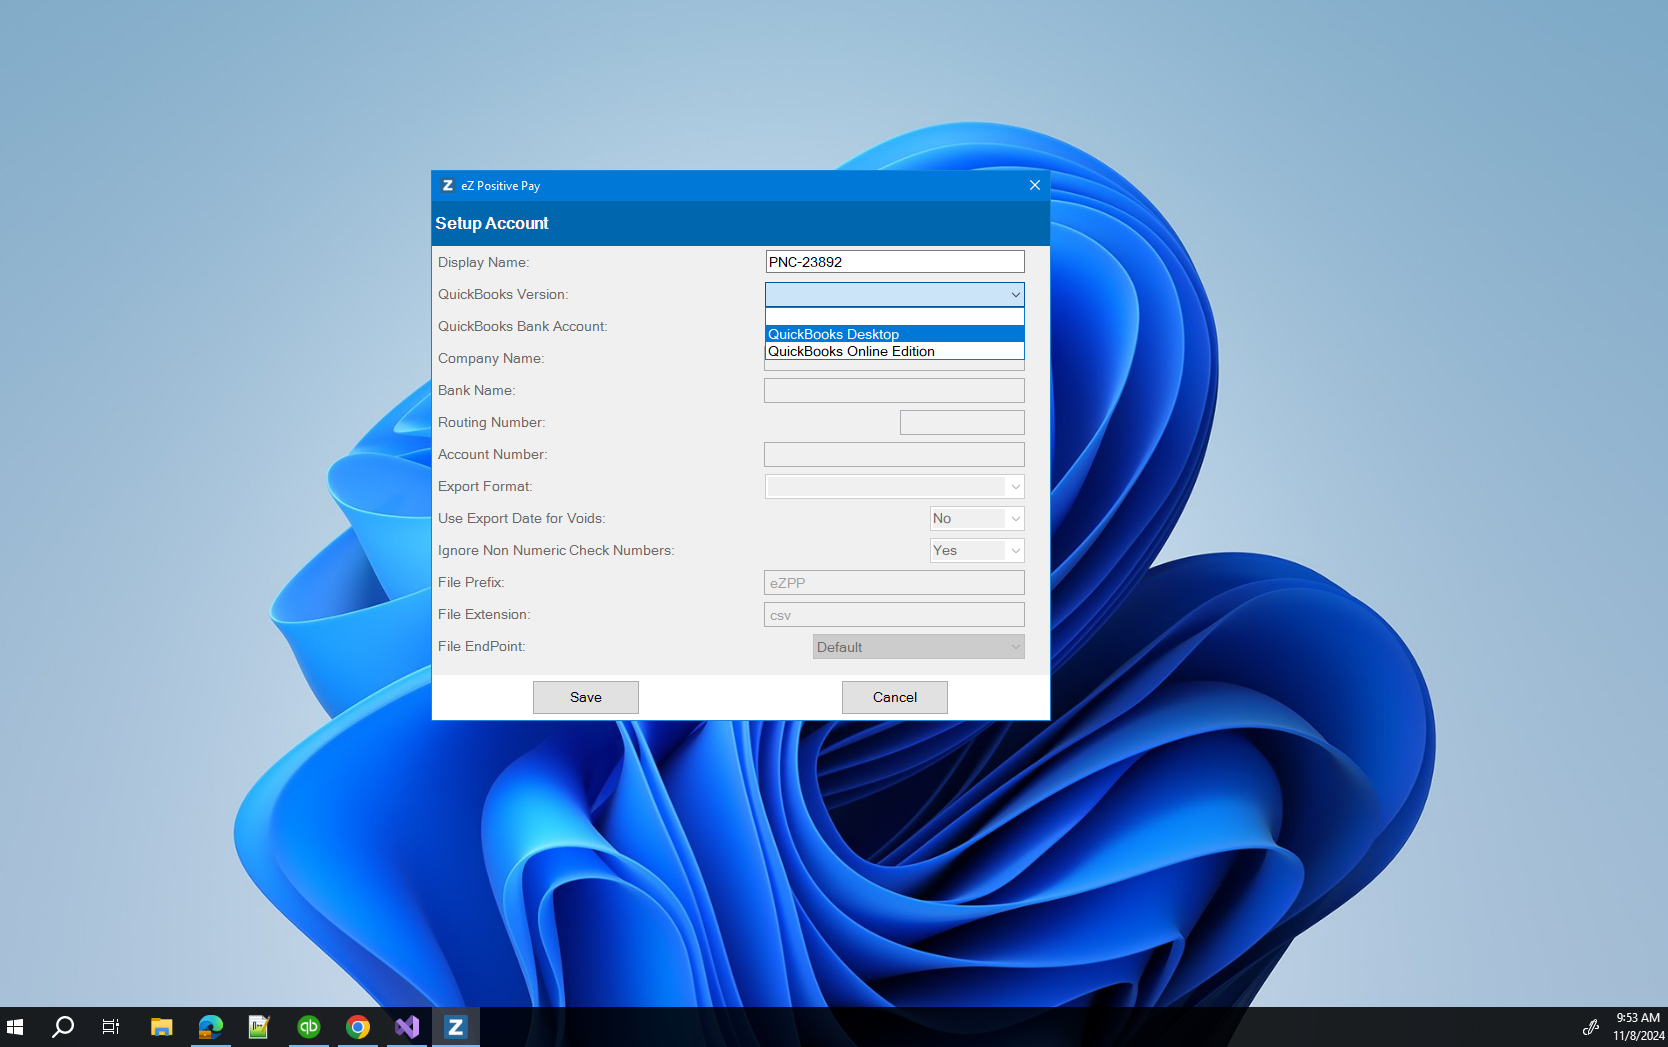
Enter Display Name
Enter the Display Name. This is used throughout the application to display the account being used at that time.
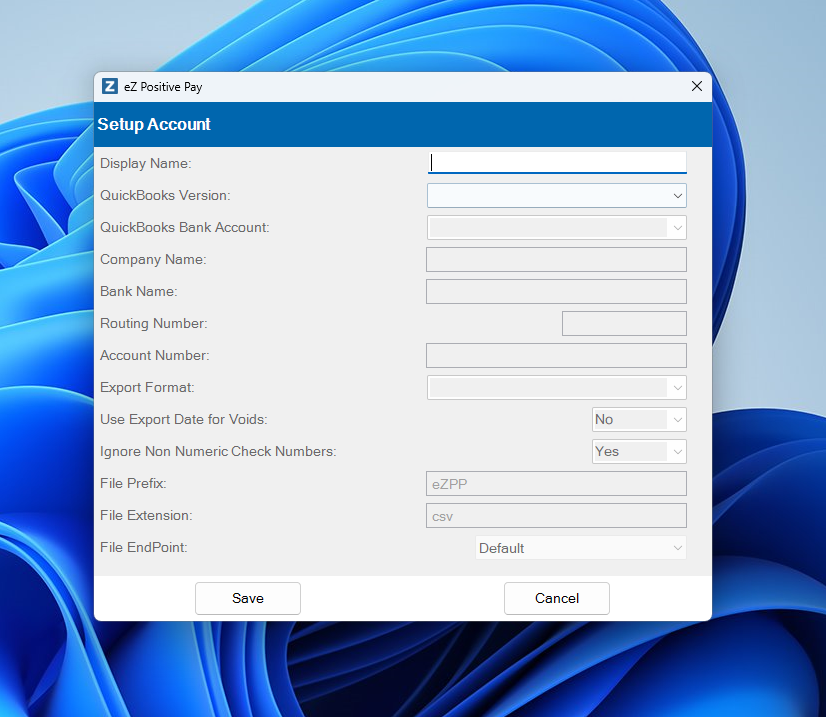
Select QuickBooks Version
Choose QuickBooks Desktop (Pro, Premier & Enterprise) from the QuickBooks Version dropdown.
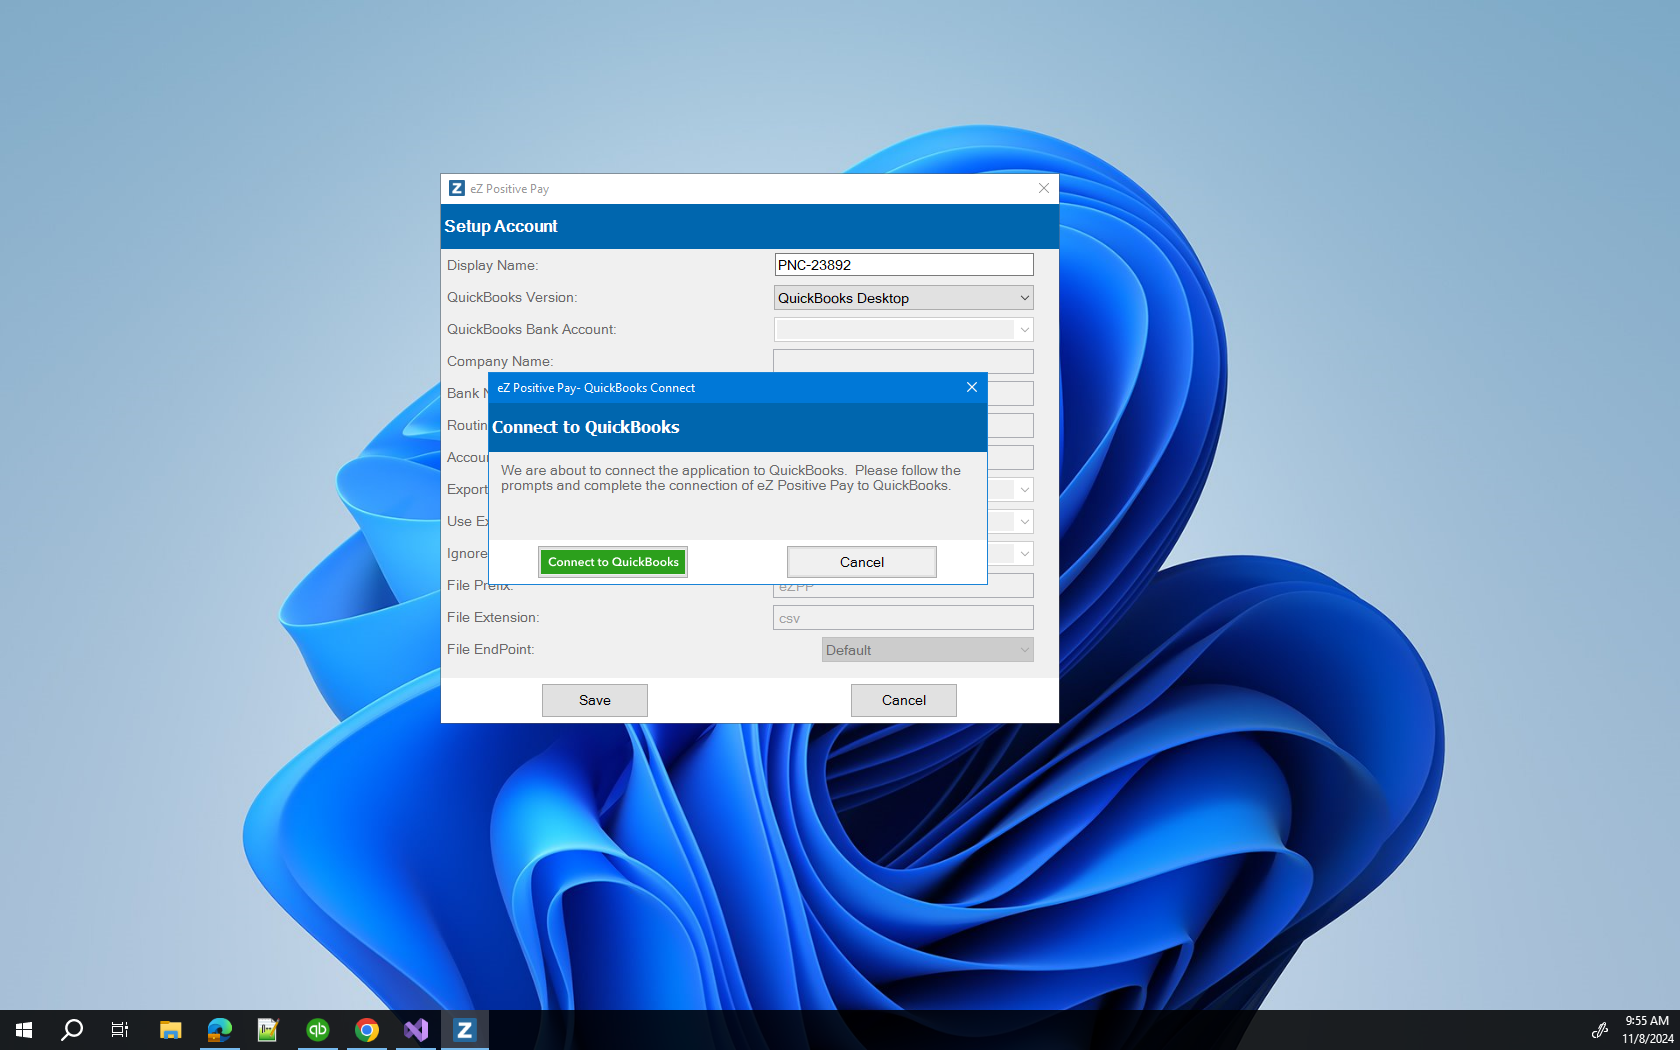
Connect to QuickBooks Desktop
Before continuing, be sure that QuickBooks is open and the user logged into QuickBooks is the 'Admin' user. You can not have a secondary QuickBooks file open.
Click on the Connect to QuickBooks button.
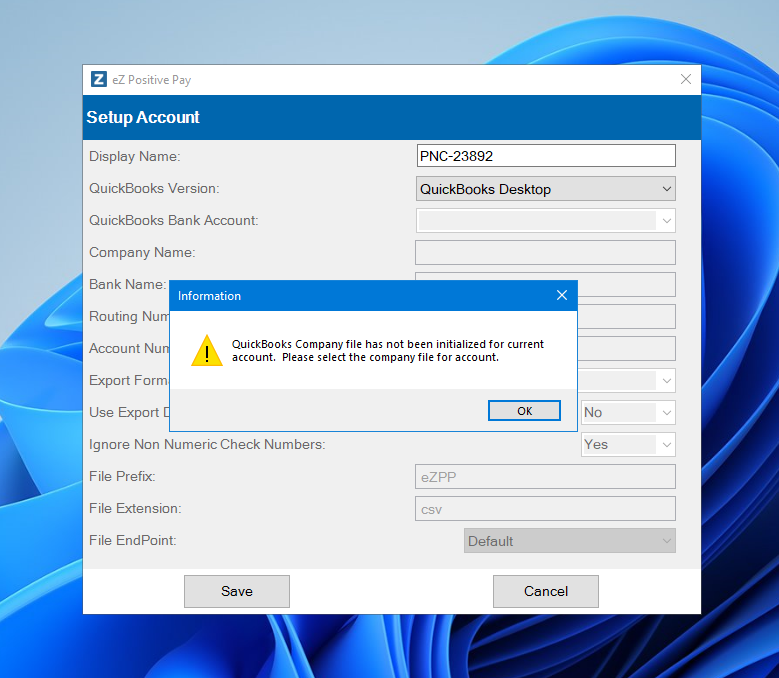
Connect to QuickBooks Desktop : Select Company Information
Click on the OK button to select the QuickBooks company file.
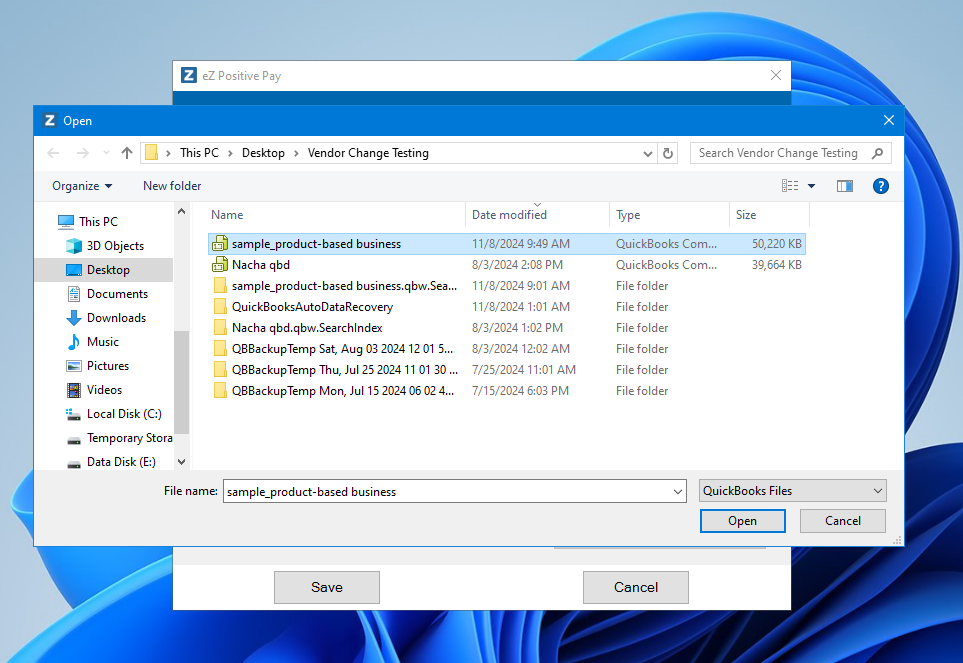
Connect to QuickBooks Desktop : Select Company File
Use the File Browser window to navigate to your QuickBooks Company File and Select the Company File. Click the Open button after selecting.
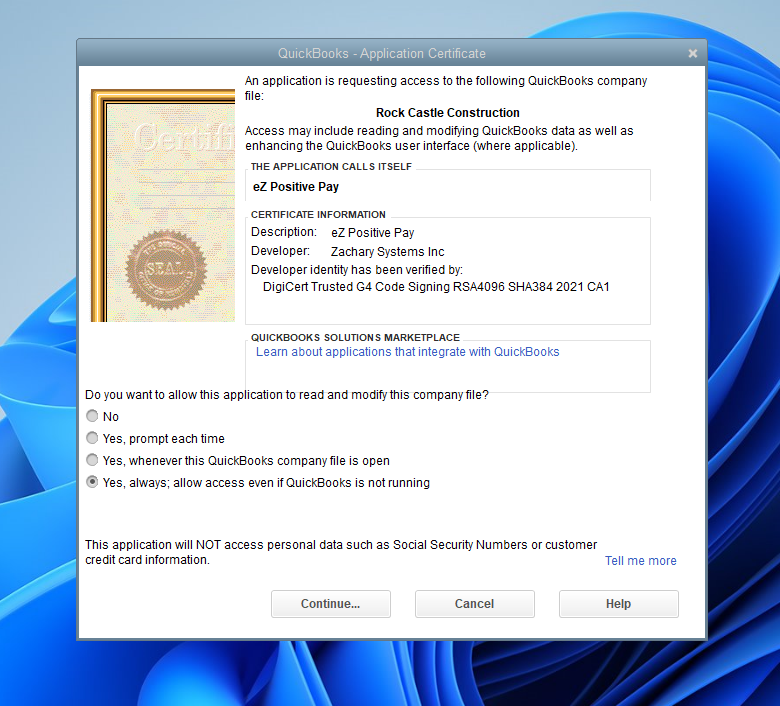
Connect to QuickBooks Desktop : QuickBooks Access
Click on the 'Yes, always: allow access even if QuickBooks is not running'. This will allow you run eZ Positive without QuickBooks open or if you have multiple QuickBooks company files to pull Checks from all company files at once by logging into each.
Note: When you select this option you will be prompted to confirm access.
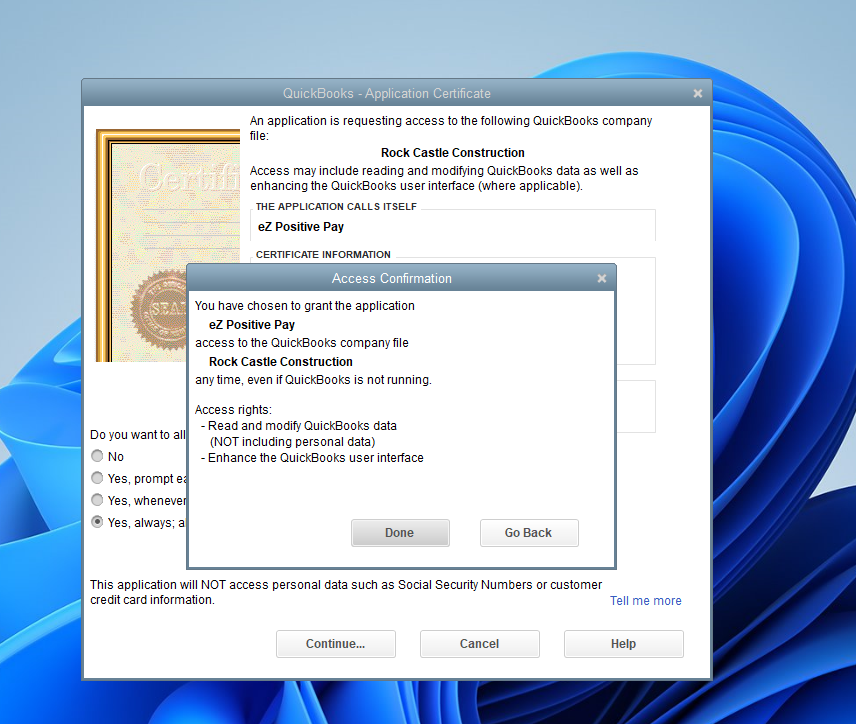
Connect to QuickBooks Desktop : Access Confirmation
Click on the Done button to confirm access to QuickBooks by eZ Positive Pay.
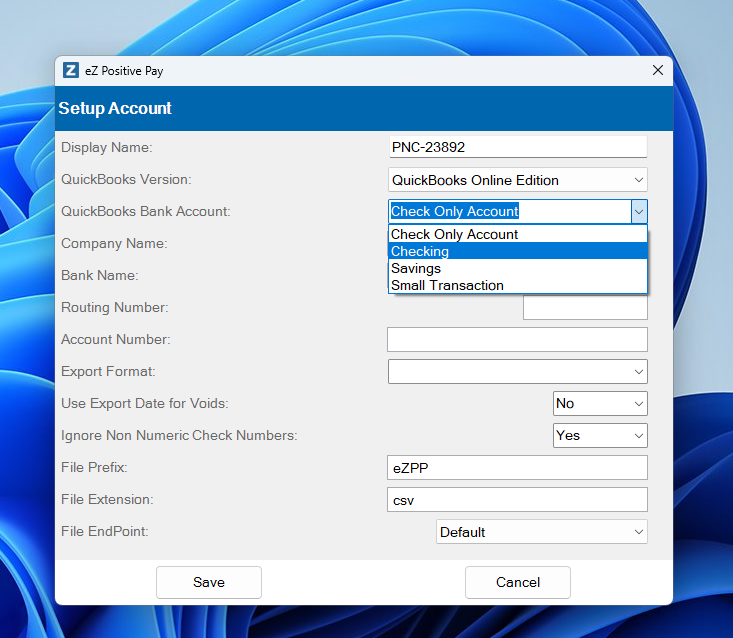
Select QuickBooks Bank Account
The list of Bank accounts in QuickBooks will be displayed in the dropdown. Select Bank account to setup for Positive Pay file generation.
Enter Bank Information
Enter the Company Name, Bank Name, Routing Number(Bank Id), Account Number fields.
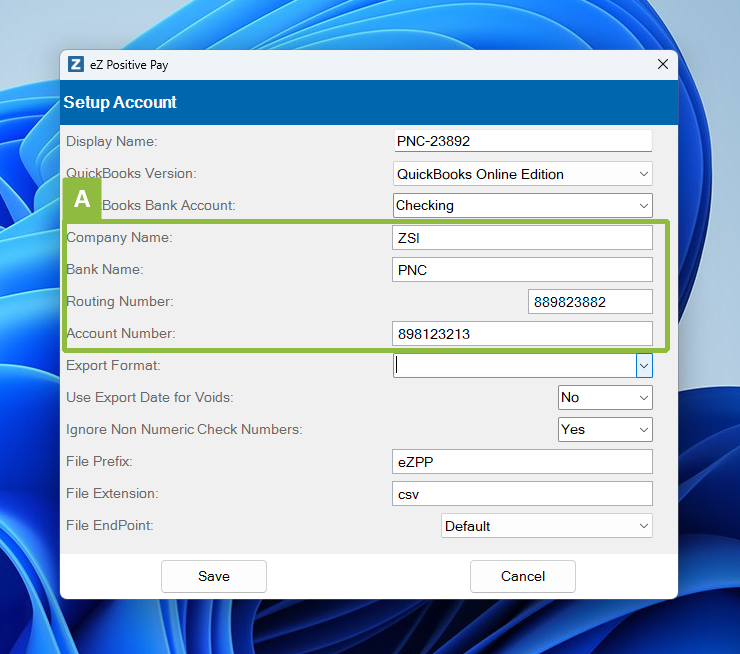
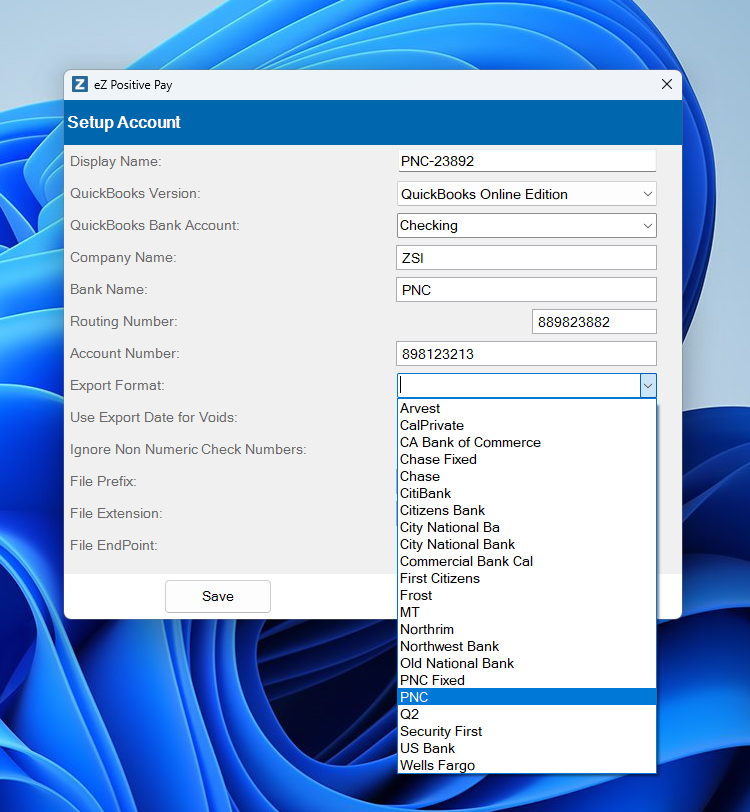
Select Export Format
Click on the dropdown to see list of Bank export formats. If your bank is displayed, select it. If not contact support, Support@ZacharySystems.com with the Bank's required format and a new export format can be added.
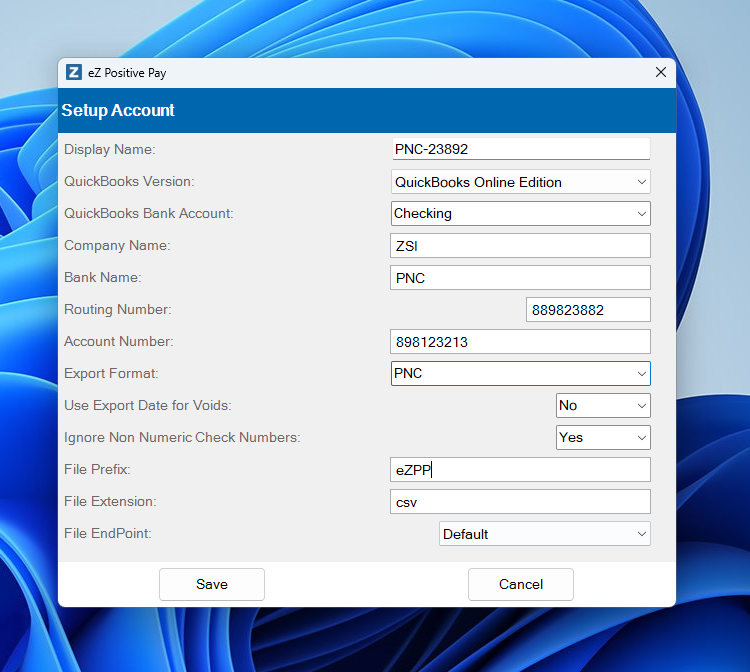
Enter File Prefix
Update the File Prefix field to a value you would like as part of the filename. It will be the beginning of the file with a timestamp at the end. For example, the file will be named eZPP-202511051021.csv.
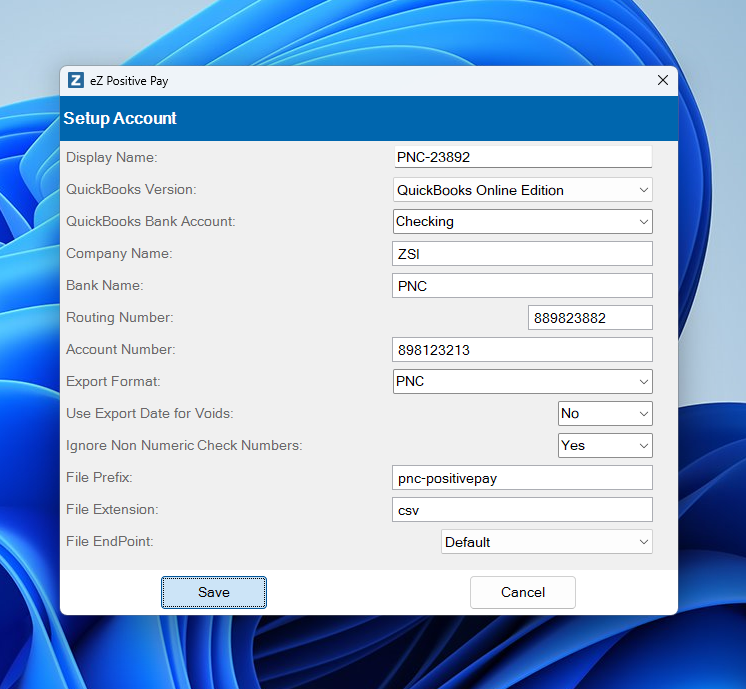
Save Account Configuration
Click the Save button to save the new Accounts.
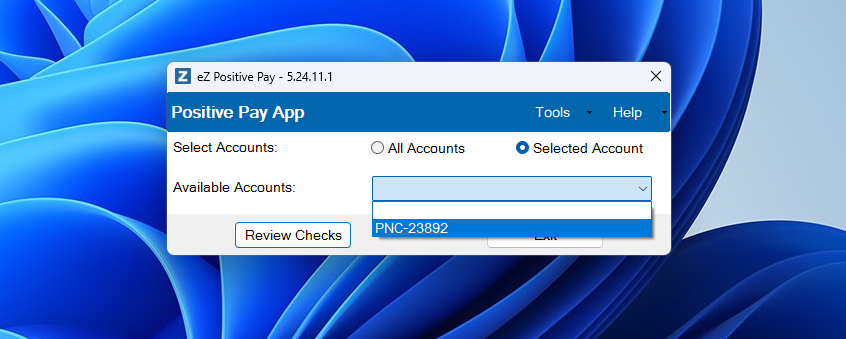
Account part of available accounts
The newly added account is now added to the available accounts.
If you have any questions or need assistance in setting up eZ Positive Pay, please contact Support@ZacharySystems.com.