Getting Started with eZ Positive Pay and QuickBooks Desktop
This Getting Started guide will step you through setting up the app and generating your first Positive Pay file. The guide has three sections:
- App Setup
- Account Setup
- Generating Positive Pay File
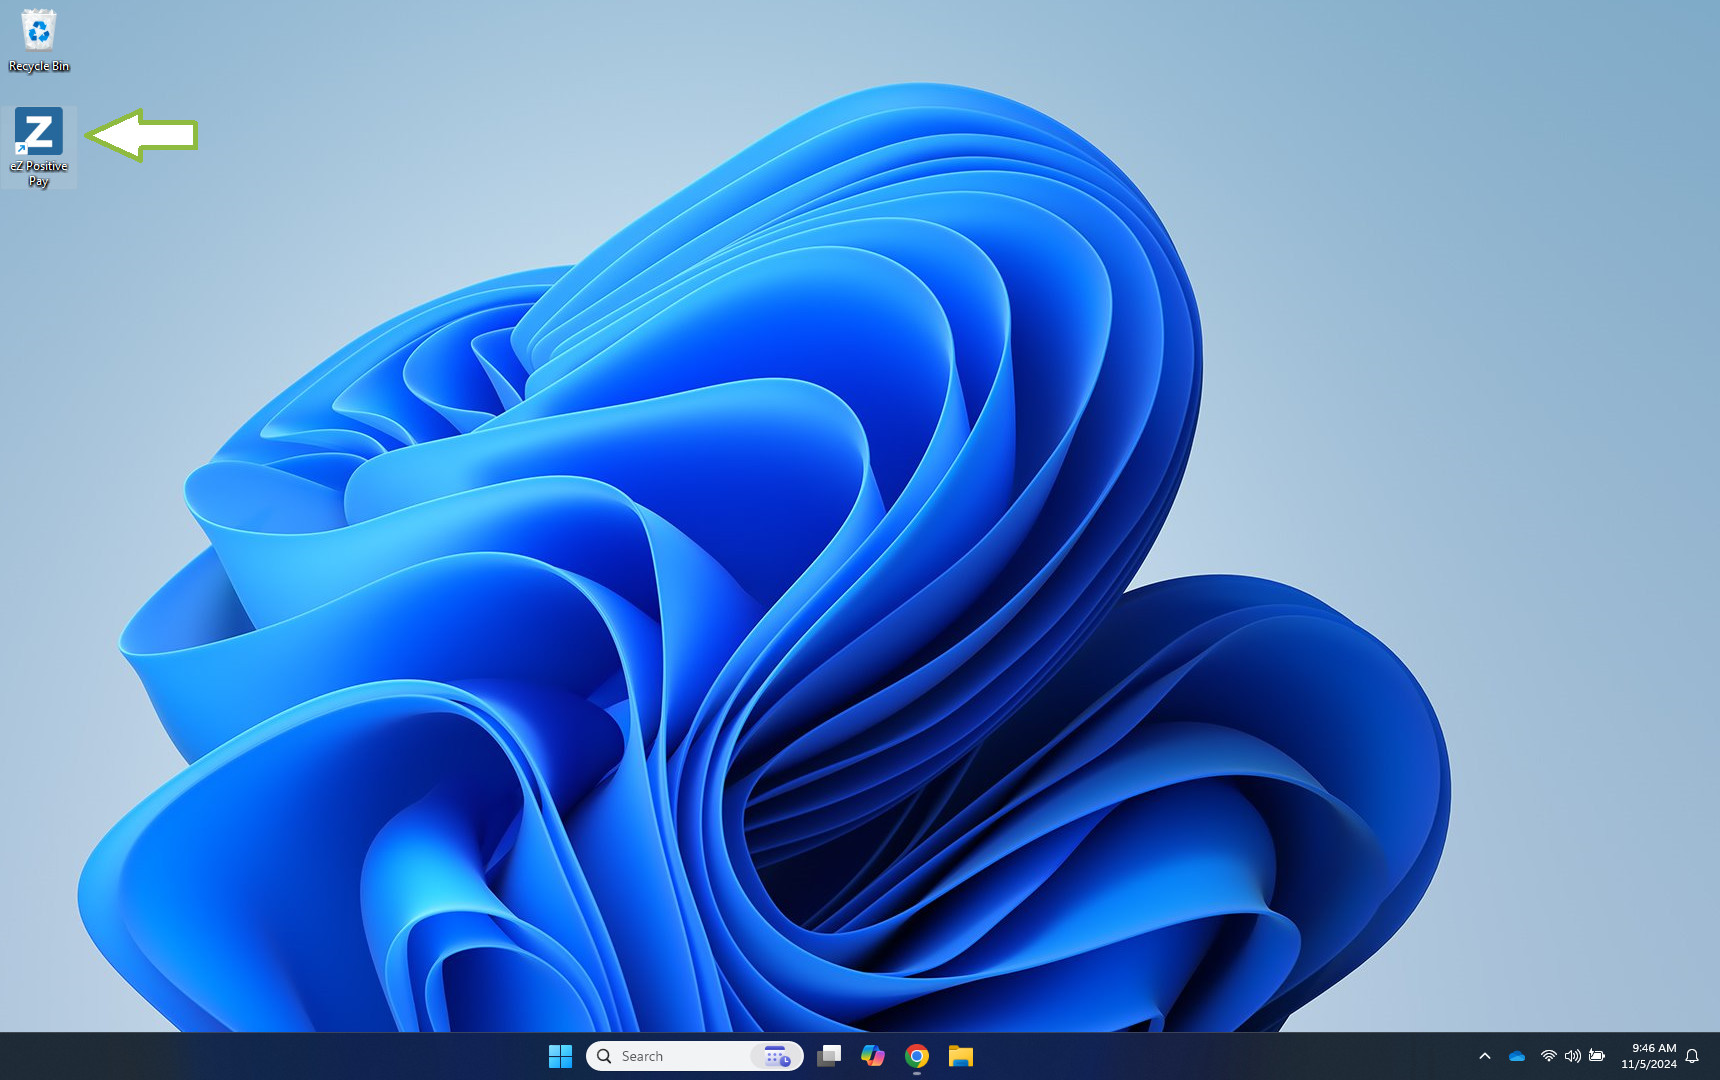
Launch eZ Positive Pay
Double-click on the eZ Positive Pay icon on your desktop.
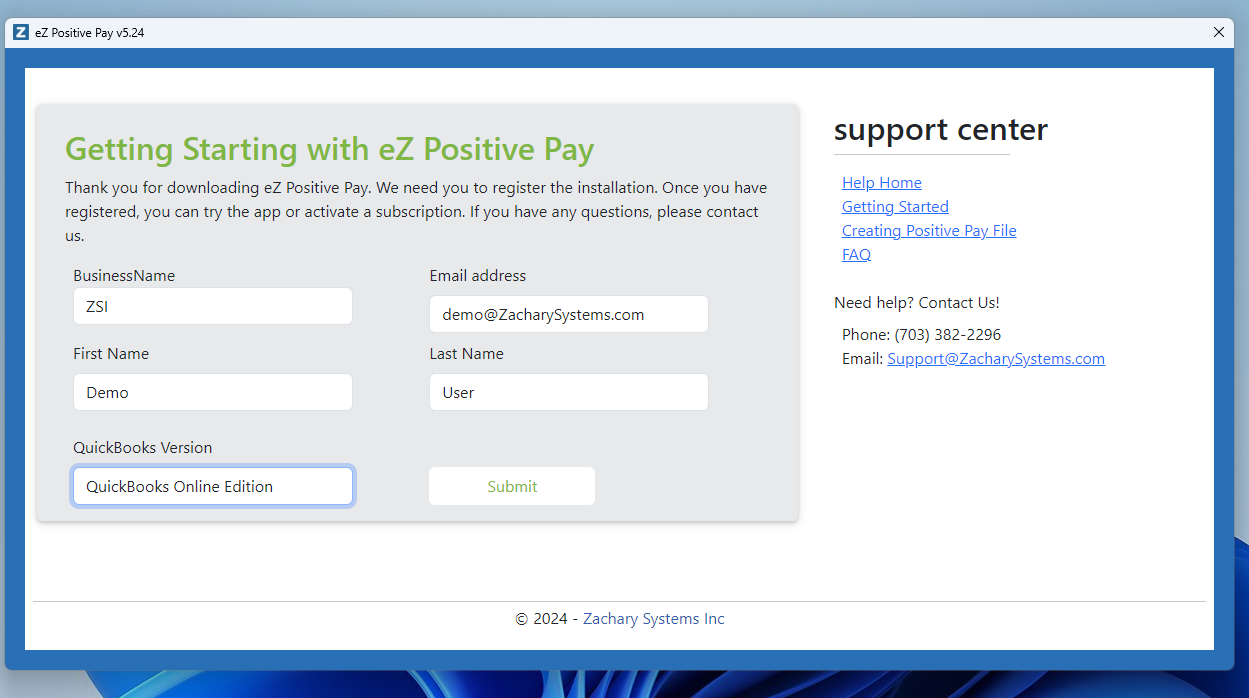
App Setup : Register eZ Positive Pay Installation
Within eZ Positive Pay, fill out the provided form and click on the Submit button.
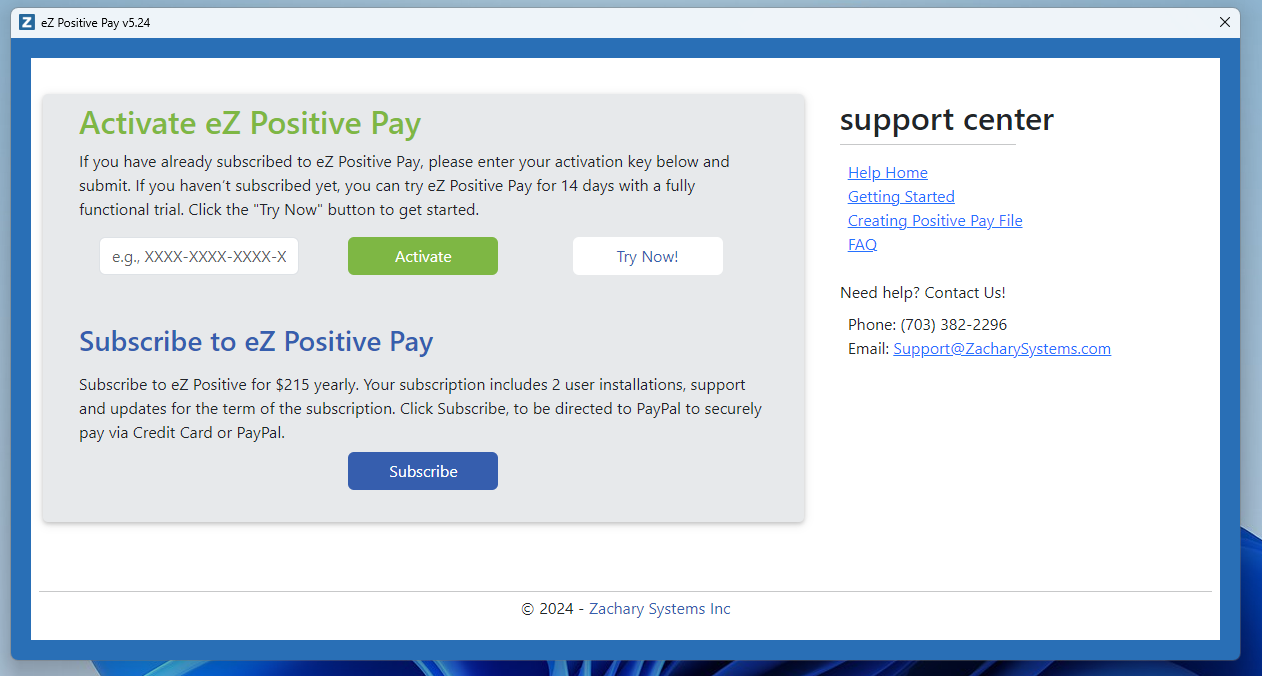
App Setup : Trial or Activate eZ Positive Pay
If you have already purchased a subscription to eZ Positive Pay, enter the provided key and click the Activate button. If not, click on the Try Now button to proceed.
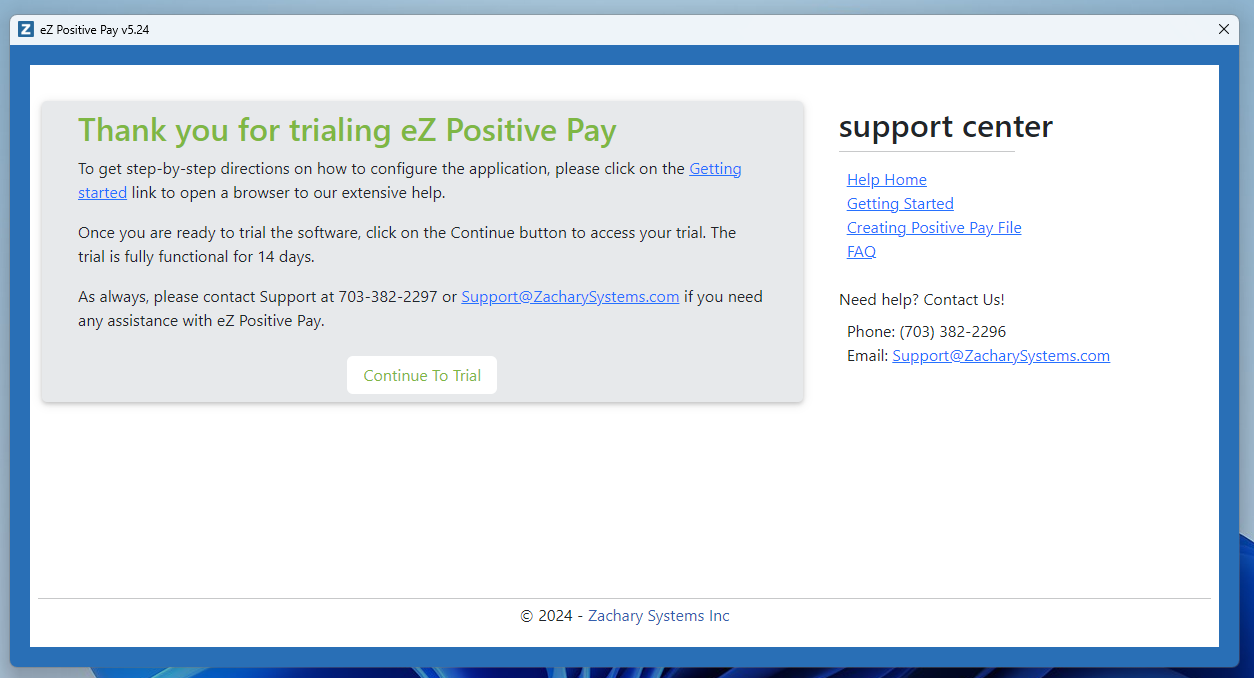
App Setup : Continue to Trial
Click the Continue To Trial button.
App Setup : Configure App Data Location
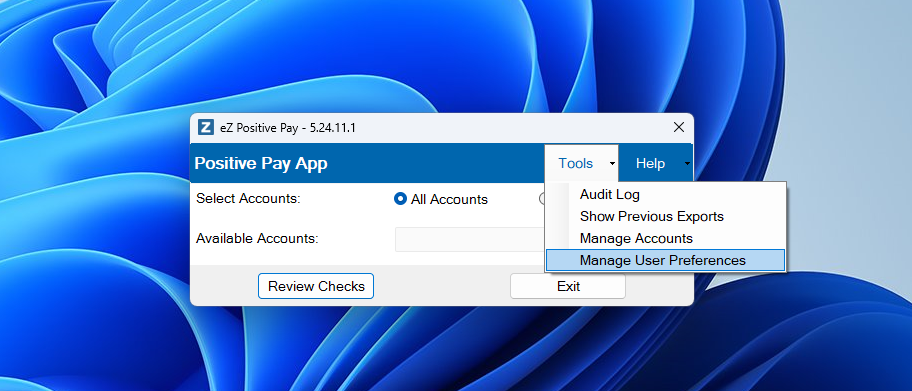
To manage your user preferences, click on the Tools Menu and select the Manage User Preferences option.
App Setup : Set Data Location
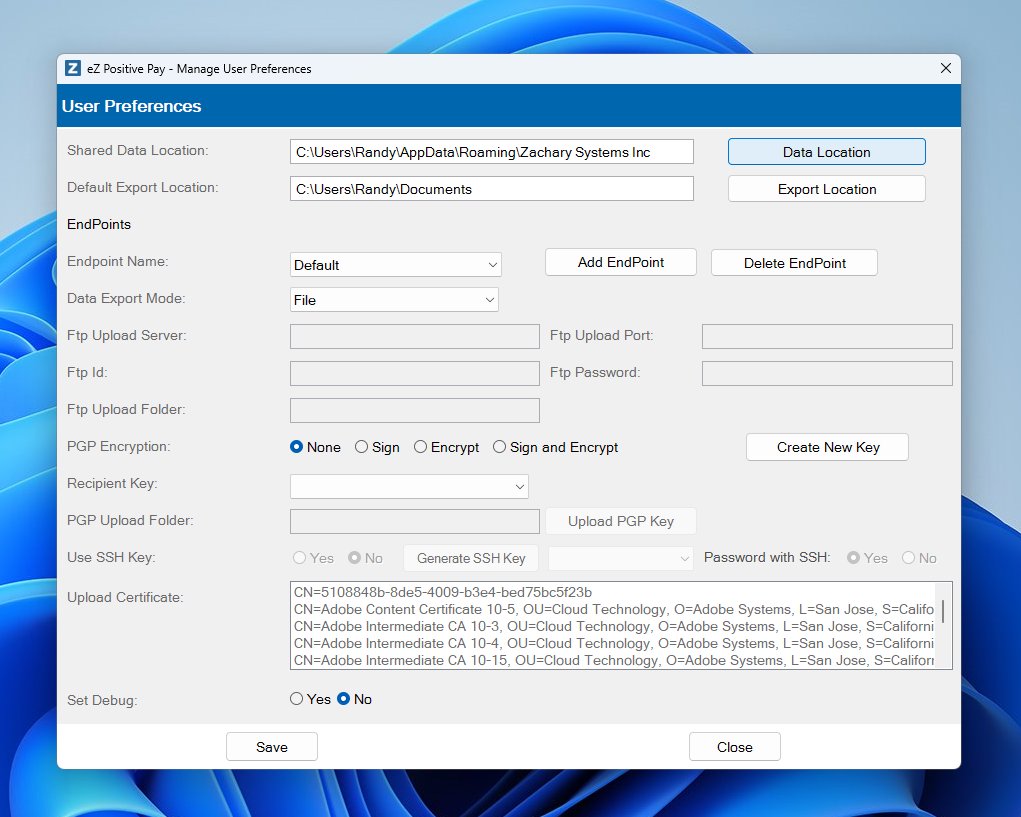
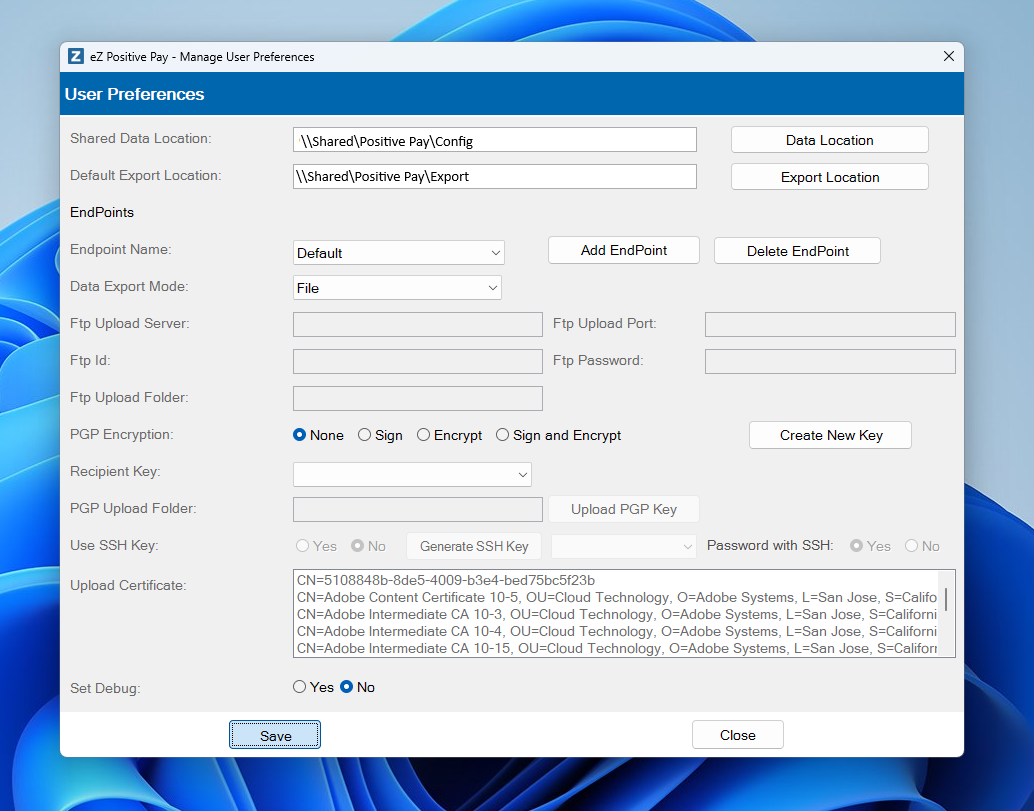
The Data Location refers to the folder where configuration files are stored. It is recommended to choose a networked location for easy backup and sharing of configurations among multiple users. Click on the Data Location button and set the desired folder location for configuration storage.
App Setup : Confirm Data Location Change
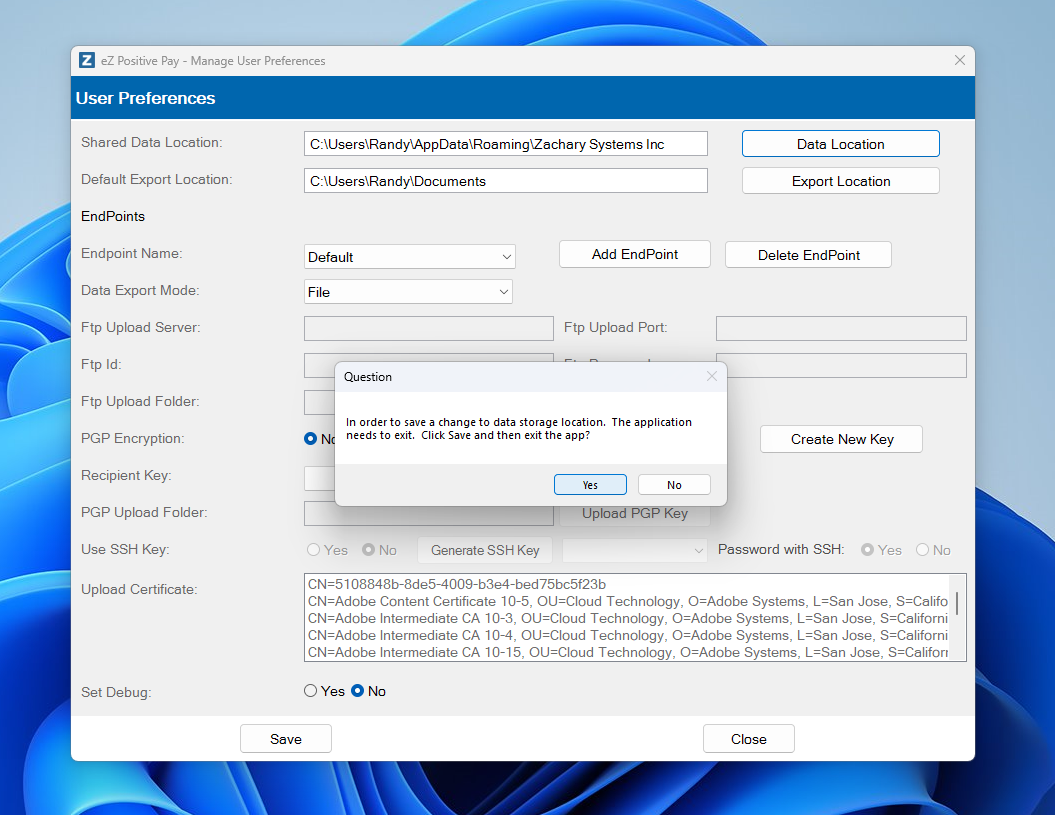
A confirmation screen will appear regarding changes to the Data Location. Click the Yes button to confirm these changes and proceed with the App Configuration setup. Do not exit the application yet.
App Setup : Set Export Location
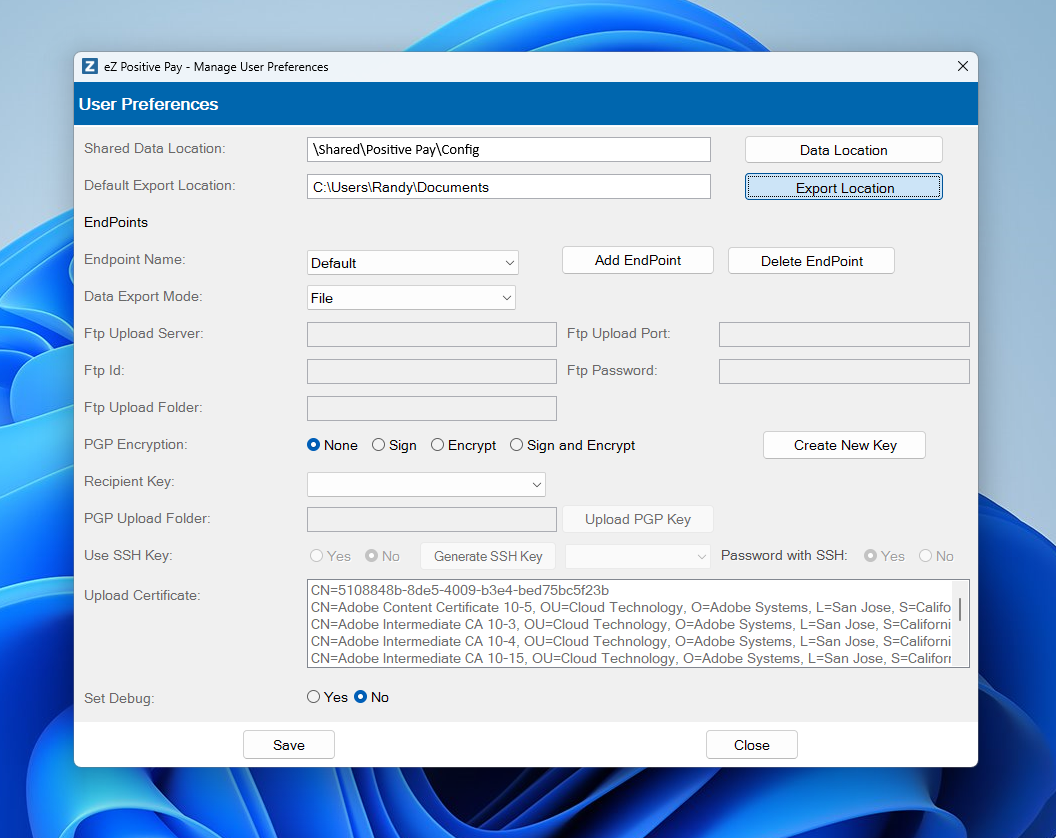
The Export Location is where the Positive Pay files will be saved when generated. Click the Export Location button and choose your preferred folder location for these files.
App Setup : Save Changes
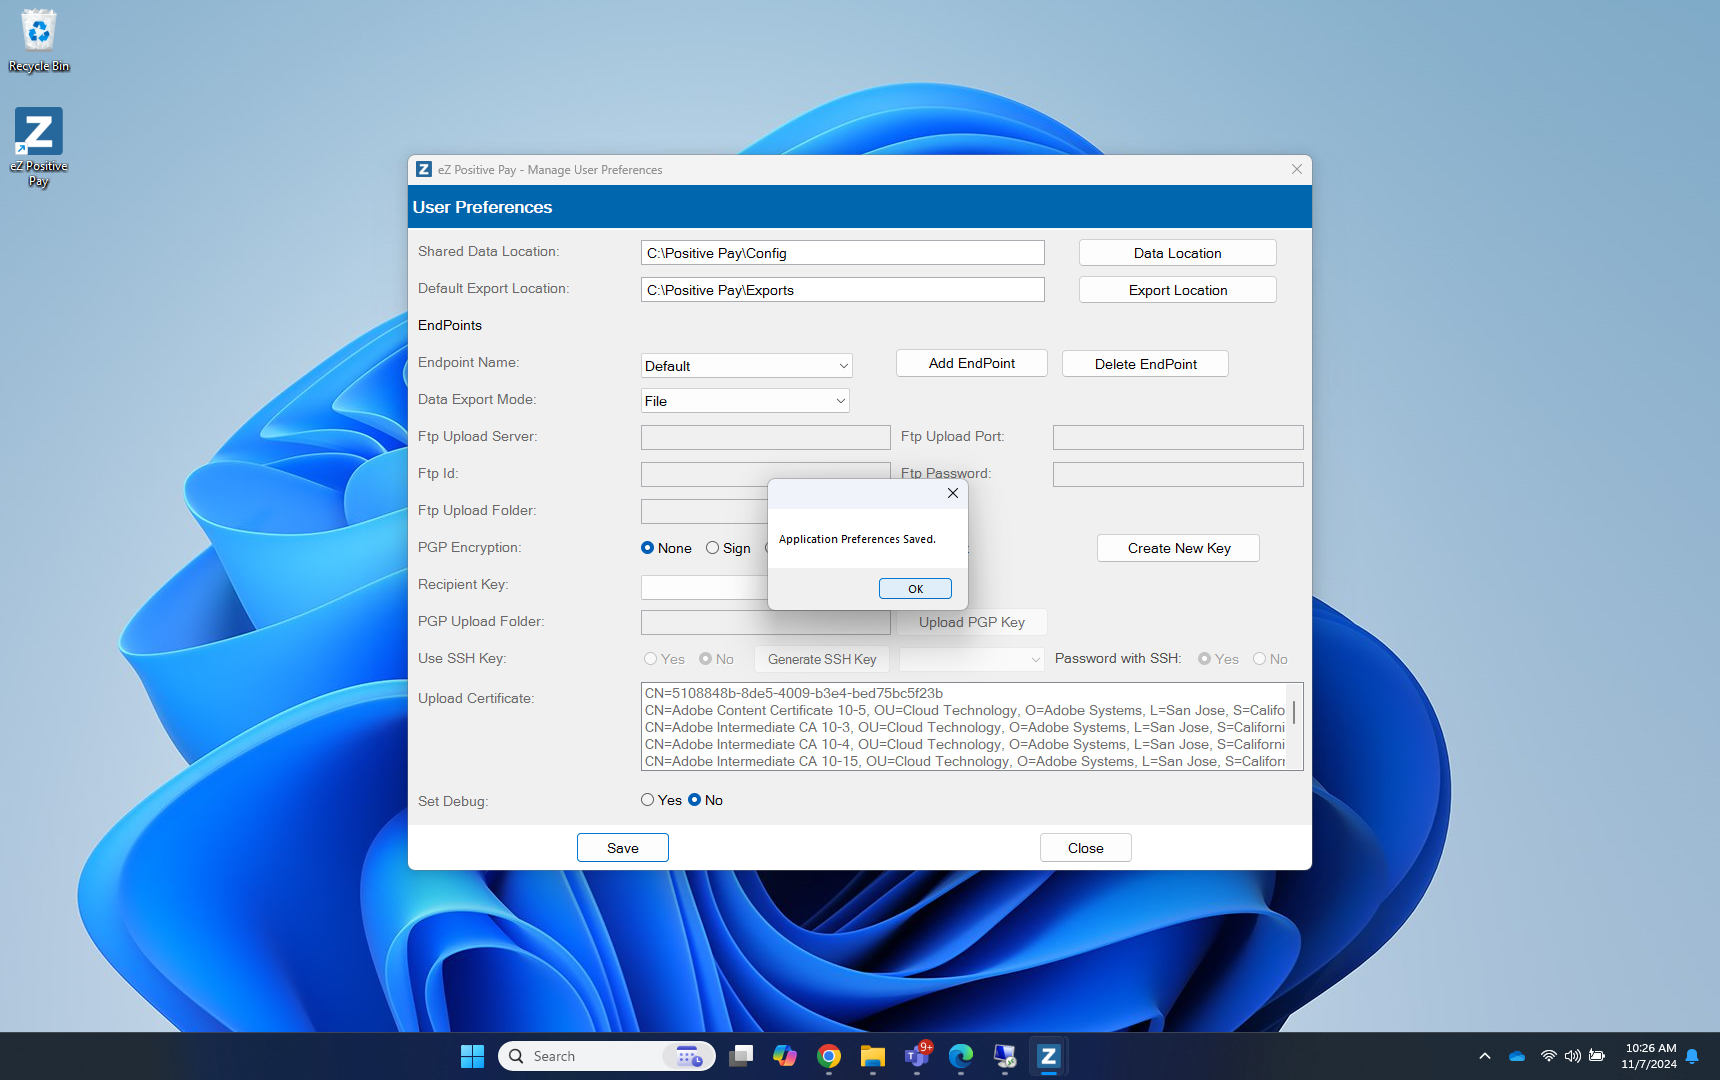
Save the configuration information by clicking the Save button. If you require assistance in setting up a transmission to your bank, please contact our support team at Support@ZacharySystems.com.
App Setup : Confirm Changes Saved
Click the OK button to proceed.
App Setup : Exit App
Once you have made configuration changes, you need to exit the application and restart it before proceeding to the next step. Click the Exit button to exit the application, then restart eZ Positive Pay.
Account Setup : eZ Positive Pay App
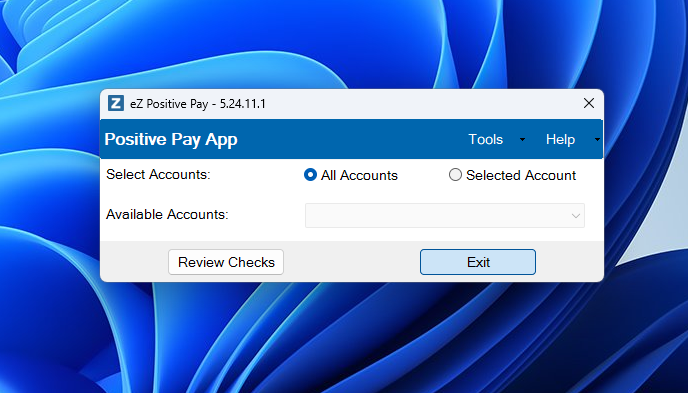
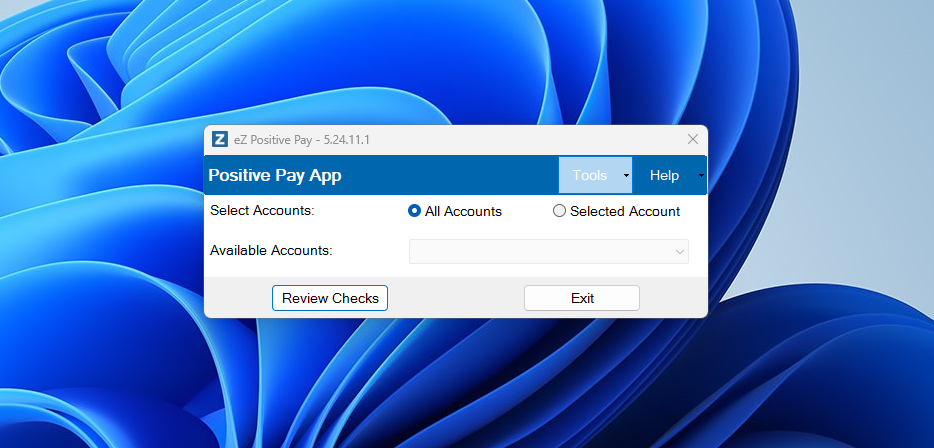
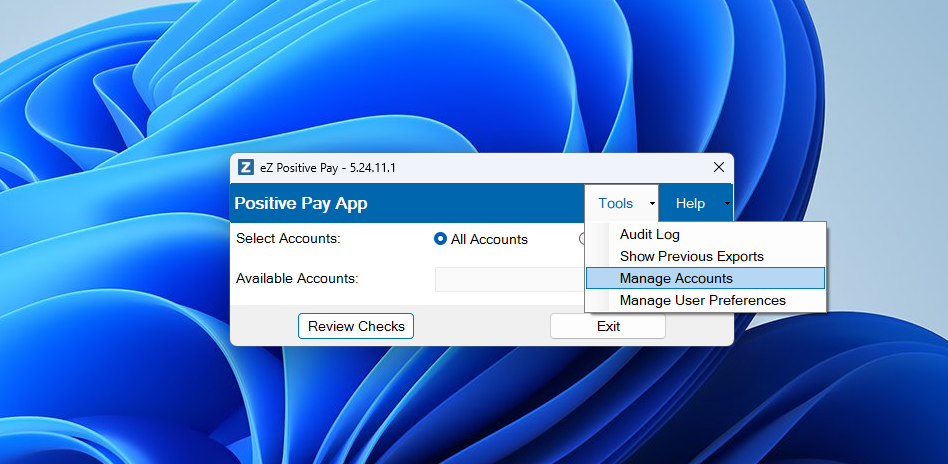
The eZ Positive Pay app's main window is displayed.
Account Setup : Manage Accounts Selection
From the Tools menu, select the Manage Accounts menu option.
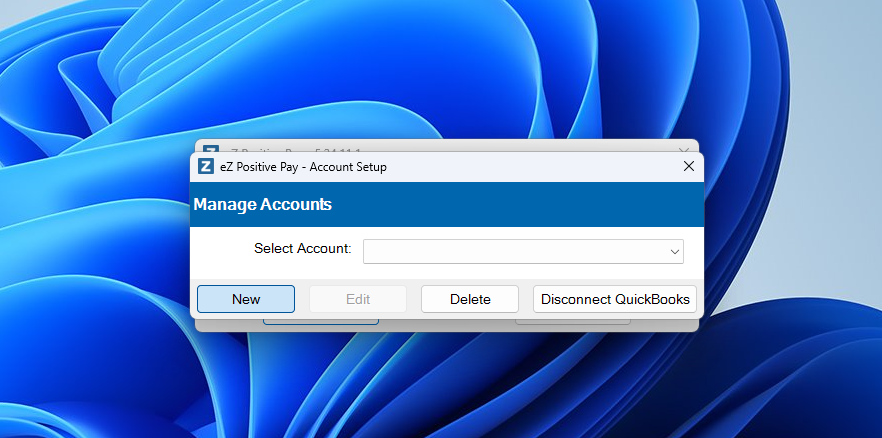
Account Setup : Manage Accounts
Click on the New button.
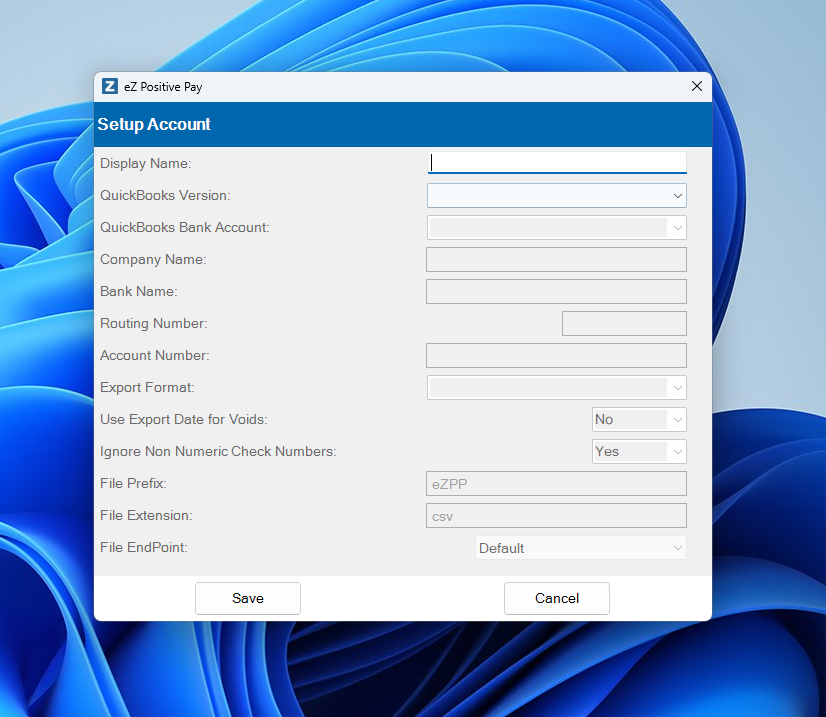
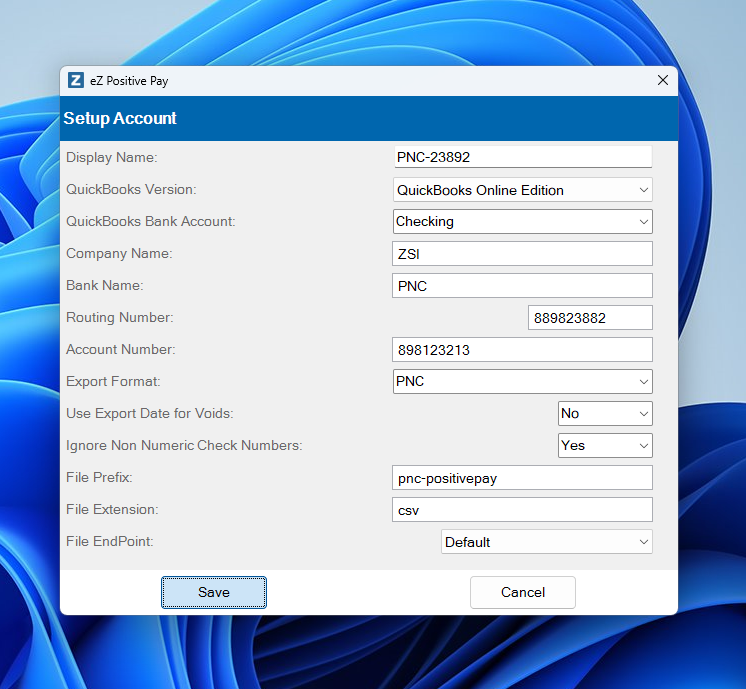
Account Setup : Display Name
Enter the Display Name. This is used throughout the application to display the account being used at that time.
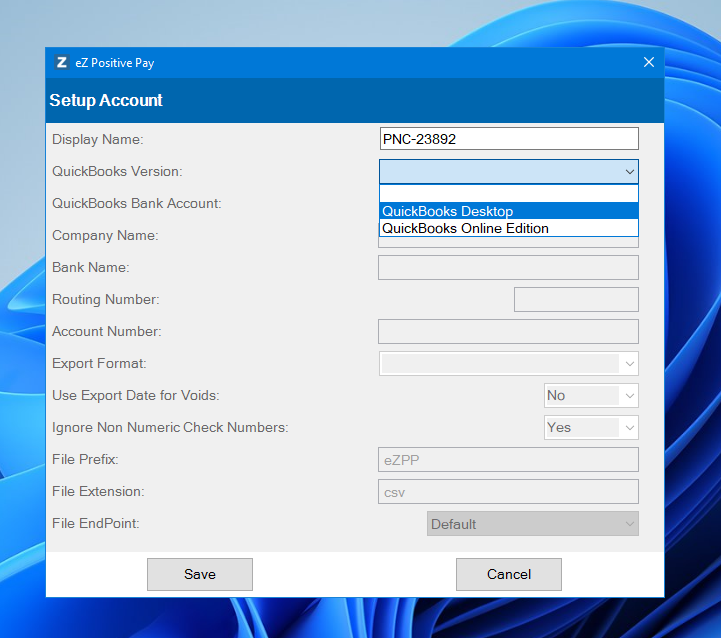
Account Setup : QuickBooks Version
Choose QuickBooks Online Edition from the QuickBooks Version dropdown.
Connect to QuickBooks Desktop
Click on the Connect to QuickBooks button.

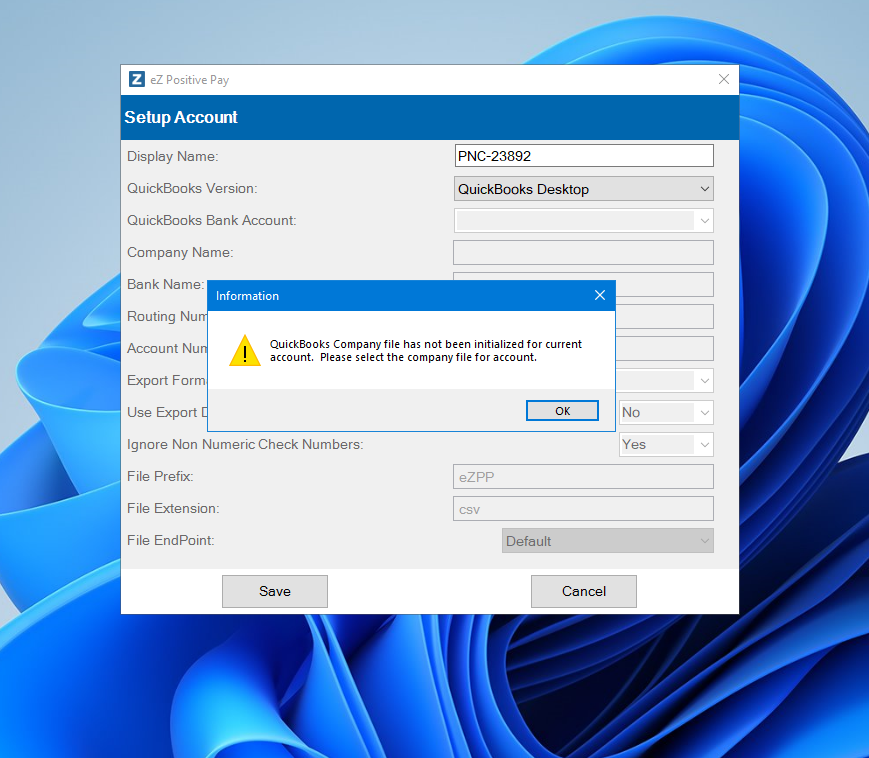
Connect to QuickBooks Desktop : Company File Selection
Click on the OK button.
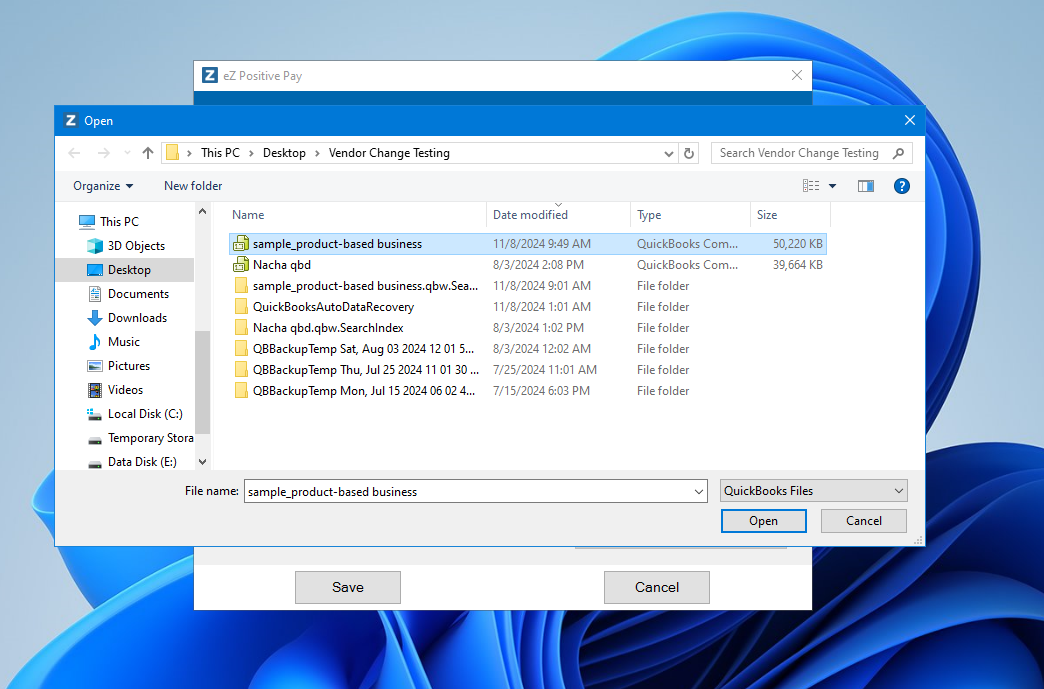
Connect to QuickBooks Desktop : Select Company File
Use the File Explorer window to navigate to your QuickBook company file and select it. Then click the Open button.
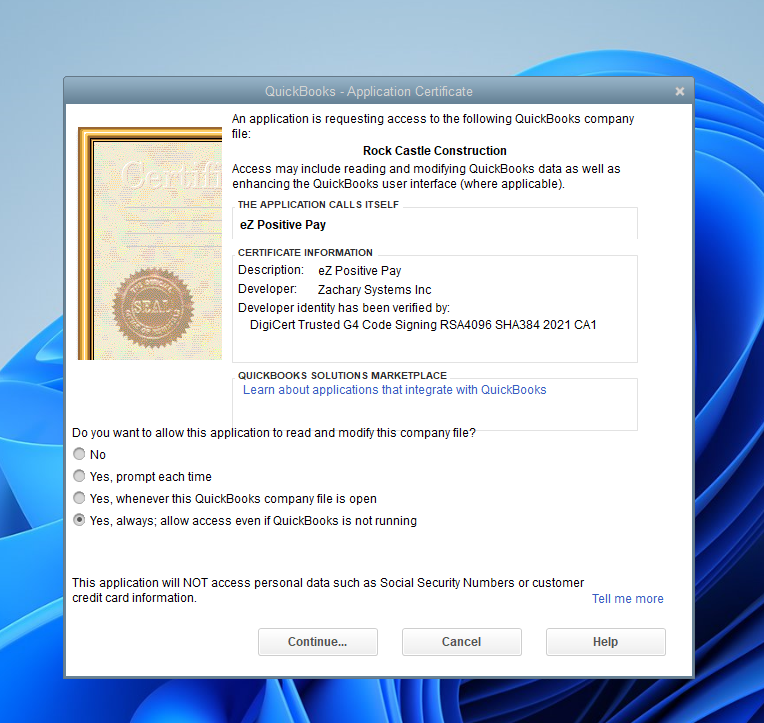
Connect to QuickBooks Desktop : Application Access
Select 'Yes, always; allow access even if QuickBooks is not running.
You will be prompted to confirm this selection. Confirm and then click on the Continue button.
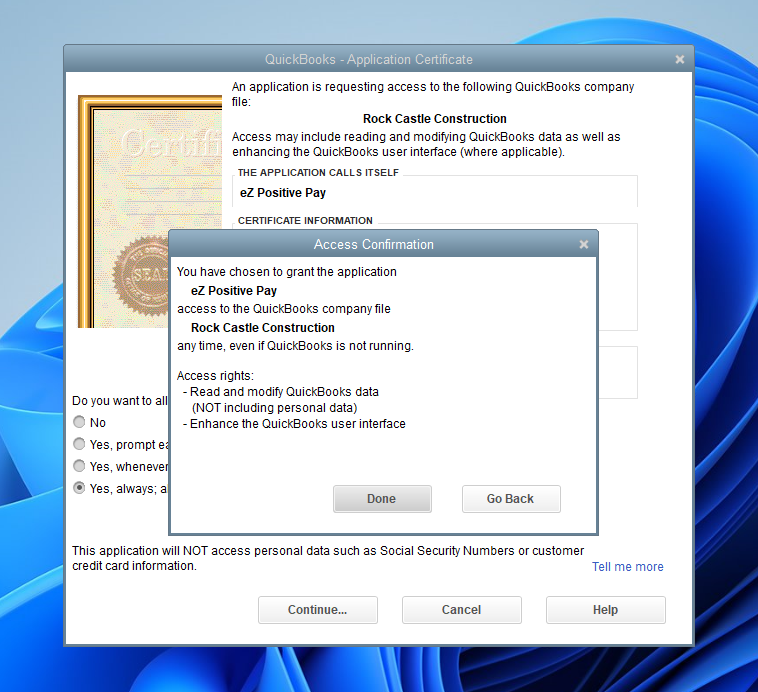
Connect to QuickBooks Desktop : Access Confirmation
Confirmation of the connection is shown. Click on Done button.
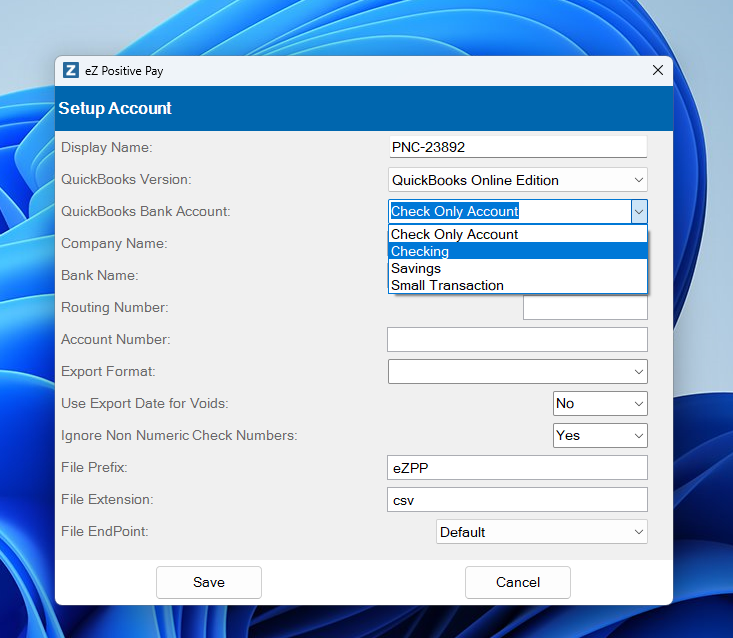
Account Setup : Select QuickBooks Bank Account
The list of Bank accounts in QuickBooks will be displayed in the dropdown. Select Bank account to setup for Positive Pay file generation.
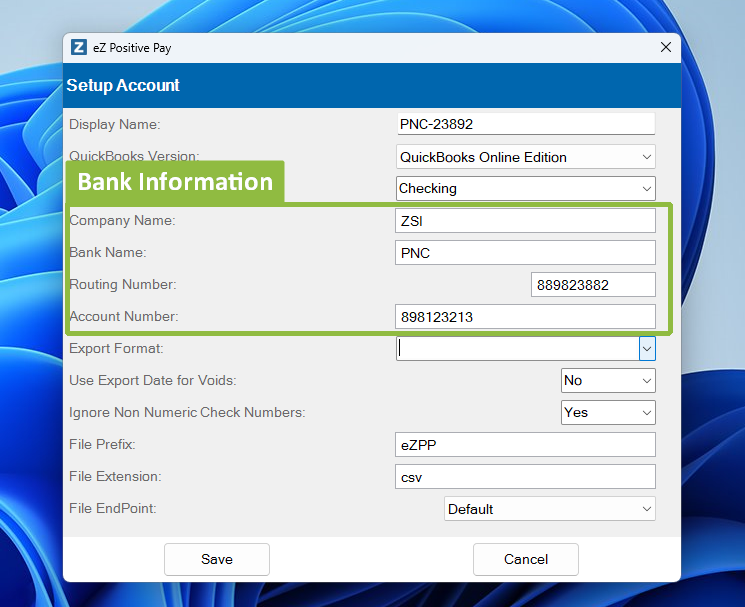
Account Setup : Enter Bank Information
Enter the Company Name, Bank Name, Routing Number(Bank Id), Account Number fields.
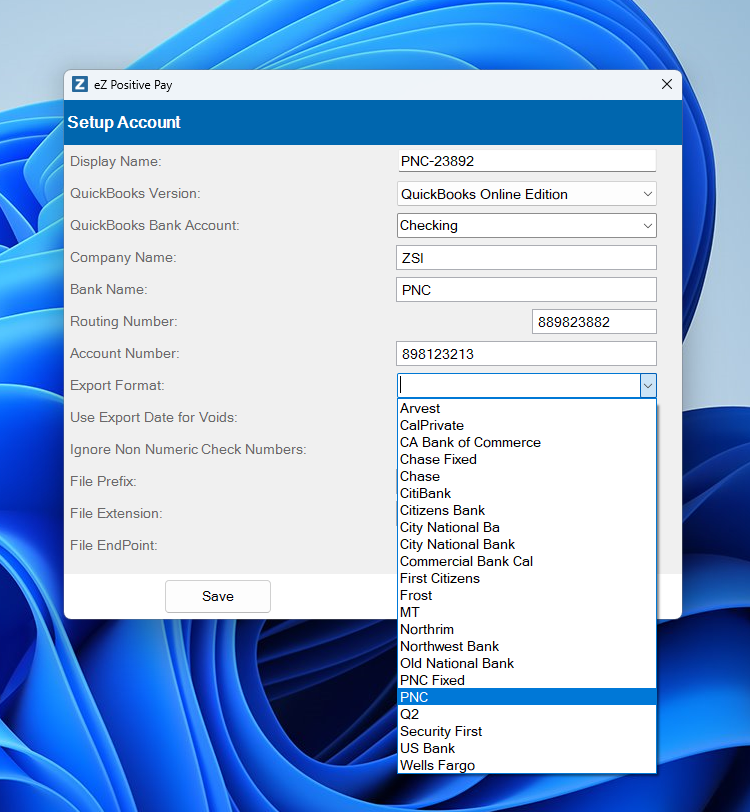
Account Setup : Export Format
Click on the dropdown to see list of Bank export formats. If your bank is displayed, select it. If not contact support, Support@ZacharySystems.com with the Bank's require format and a new export can be added.
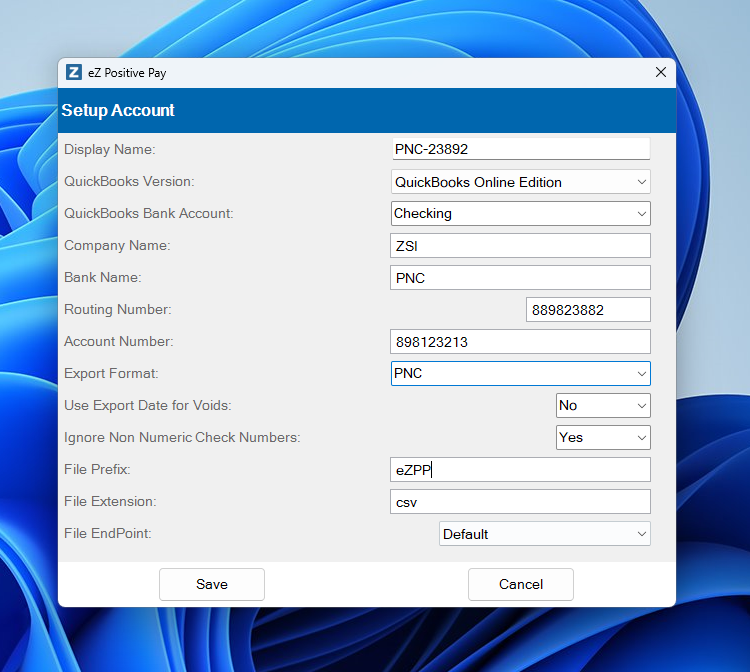
Account Setup : File Prefix
Update the File Prefix field to a value you would like as part of the filename. It will be the beginning of the file with a timestamp at the end. For example, the file will be named eZPP-202511051021.csv.
Account Setup : Save
Click the Save button to save the new Accounts.
Account Setup : Account part of available accounts
The newly added account is now added to the available accounts.
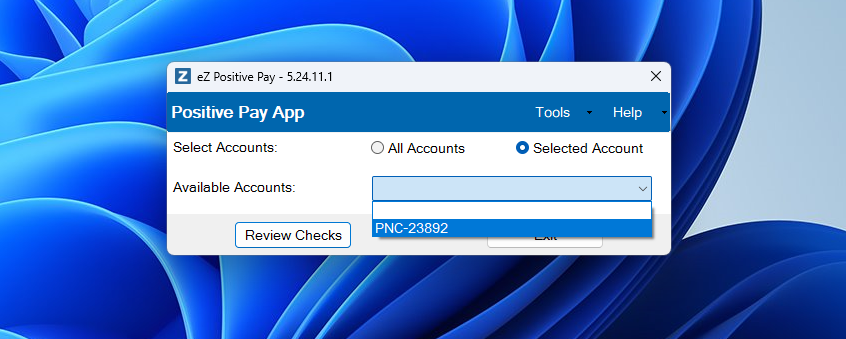
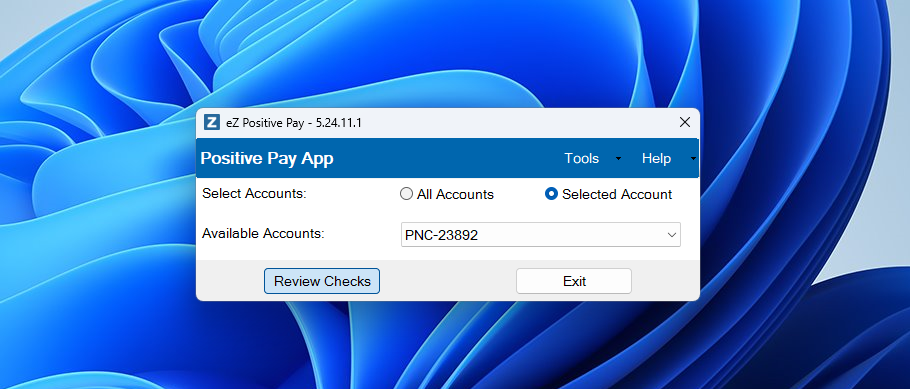
Generate Positive Pay File : Select Account
Click on the Selected Account radio button and select your account in the Available Accounts.
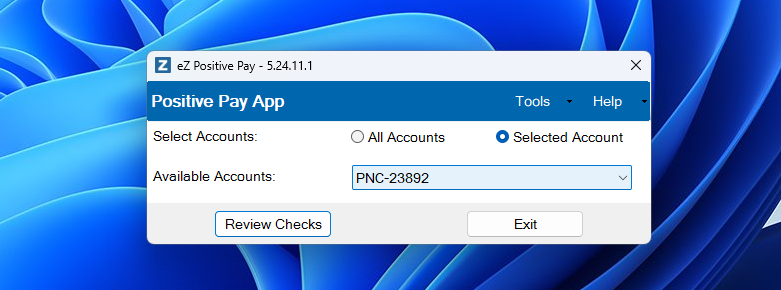
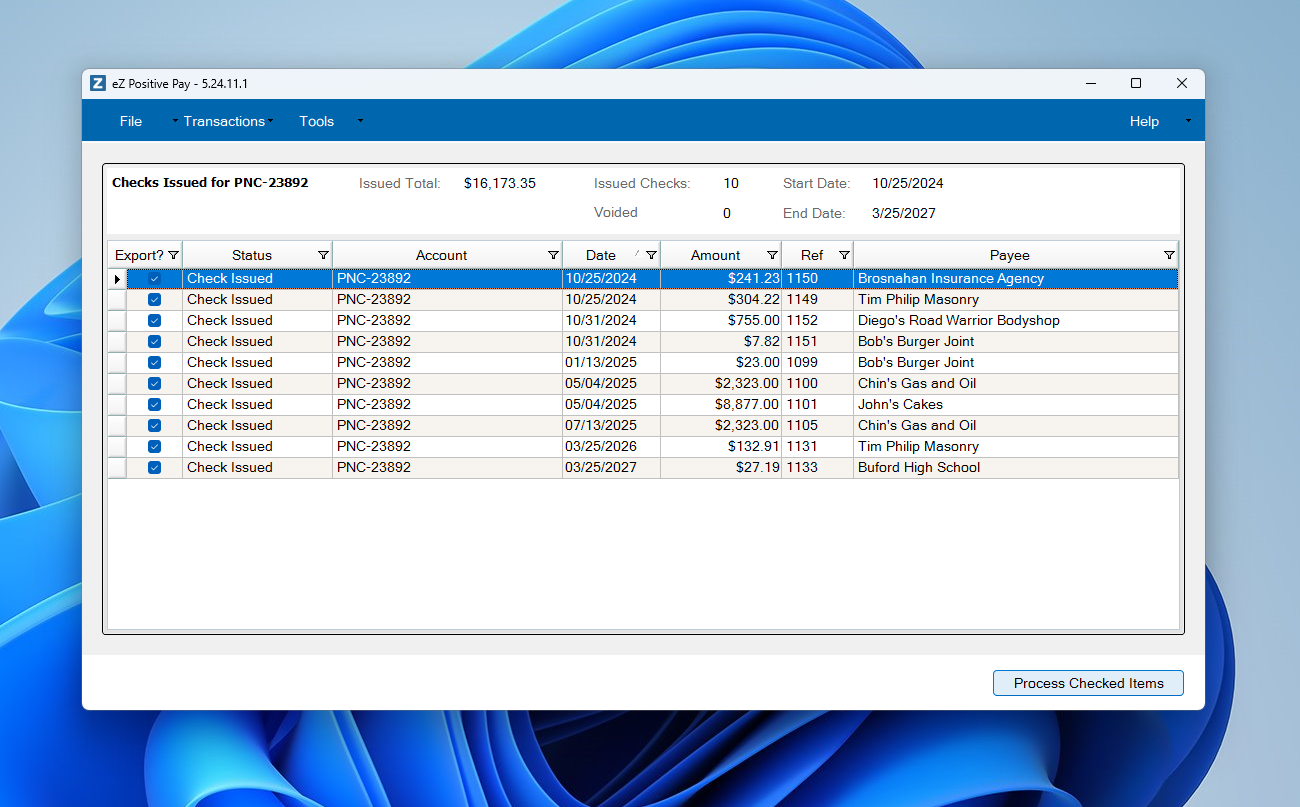
Generating Positive Pay File : Review Checks
Click the Review Checks button.
Generating Positive Pay File : Generate File
Click the Process Checked Items button to generate your Positive Pay File
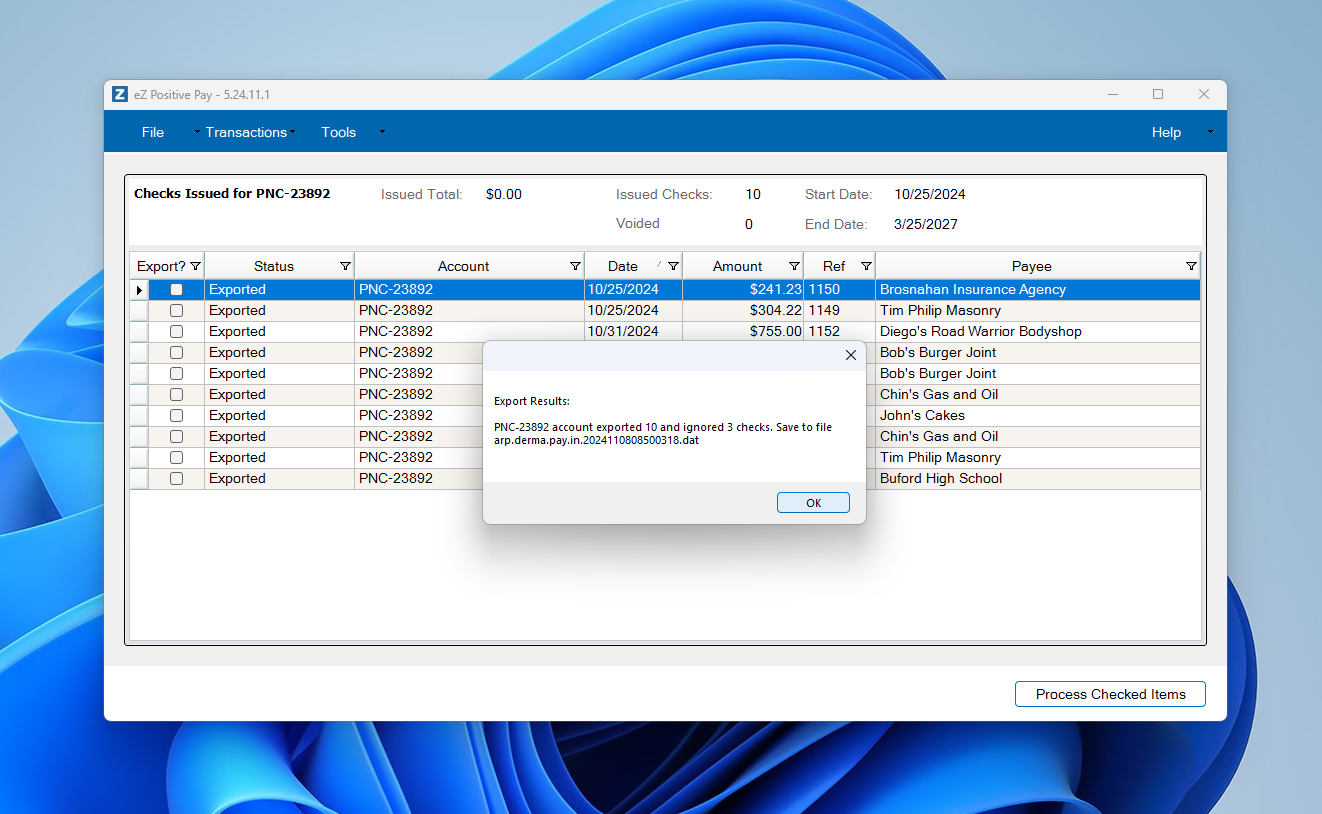
Generating Positive Pay File : Export Confirmation
A confirmation window will be displayed specifying the number of transactions and file exported. Click OK button.
Generating Positive Pay File : Positive Pay File
The file has been exported to the location specified in the App Setup : Set Export Location step.

If you have any questions or need assistance in setting up your Positive Pay, please contact Support@ZacharySystems.com.