Generating a Positive Pay with eZ Positive Pay
This Guide will provide the steps to generate a positive pay file.
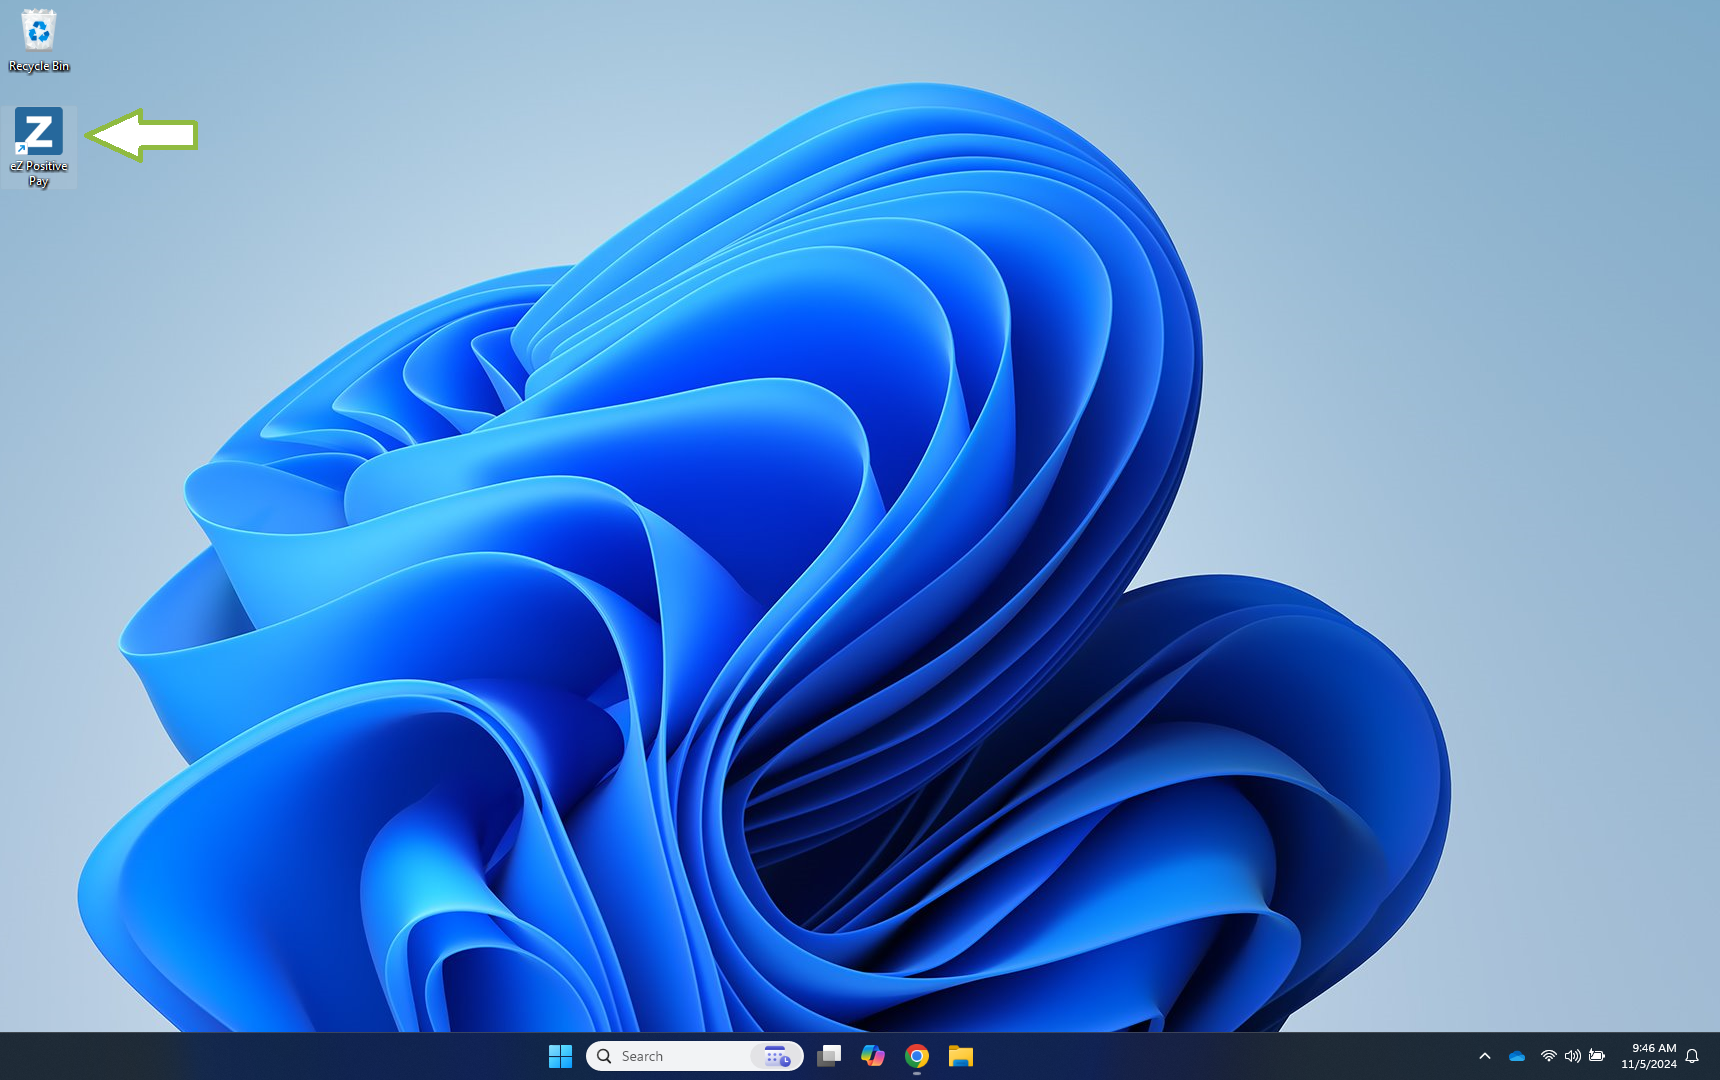
Launch eZ Positive Pay
Double-click on the eZ Positive Pay icon on your desktop.
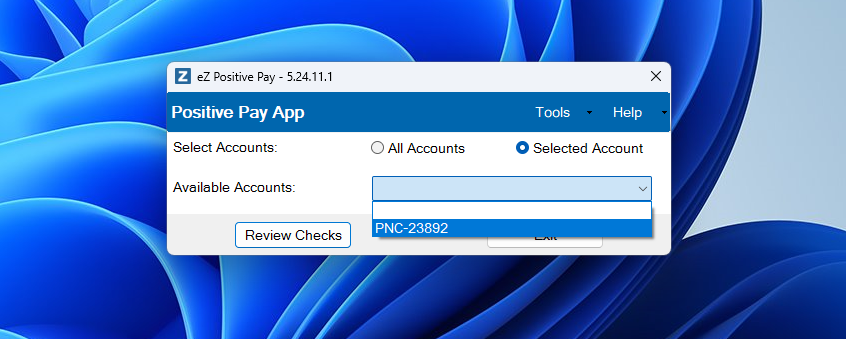
Select Positive Pay Account
Click on the Selected Account radio button and the select the account from the Available Accounts dropdown.
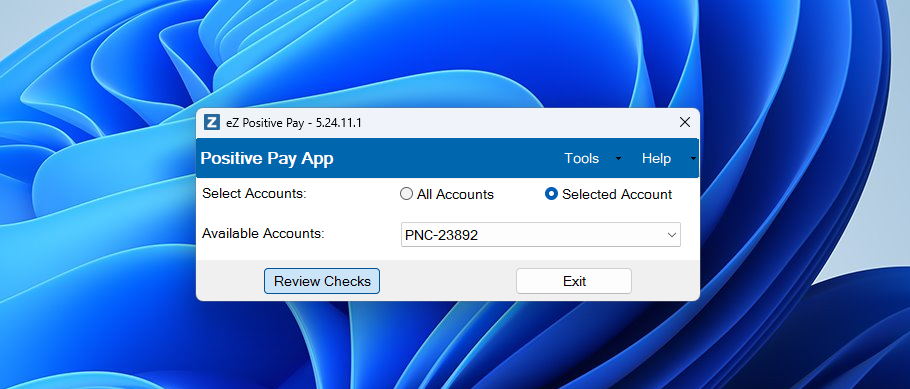
Review Checks
Click the Review Checks button.
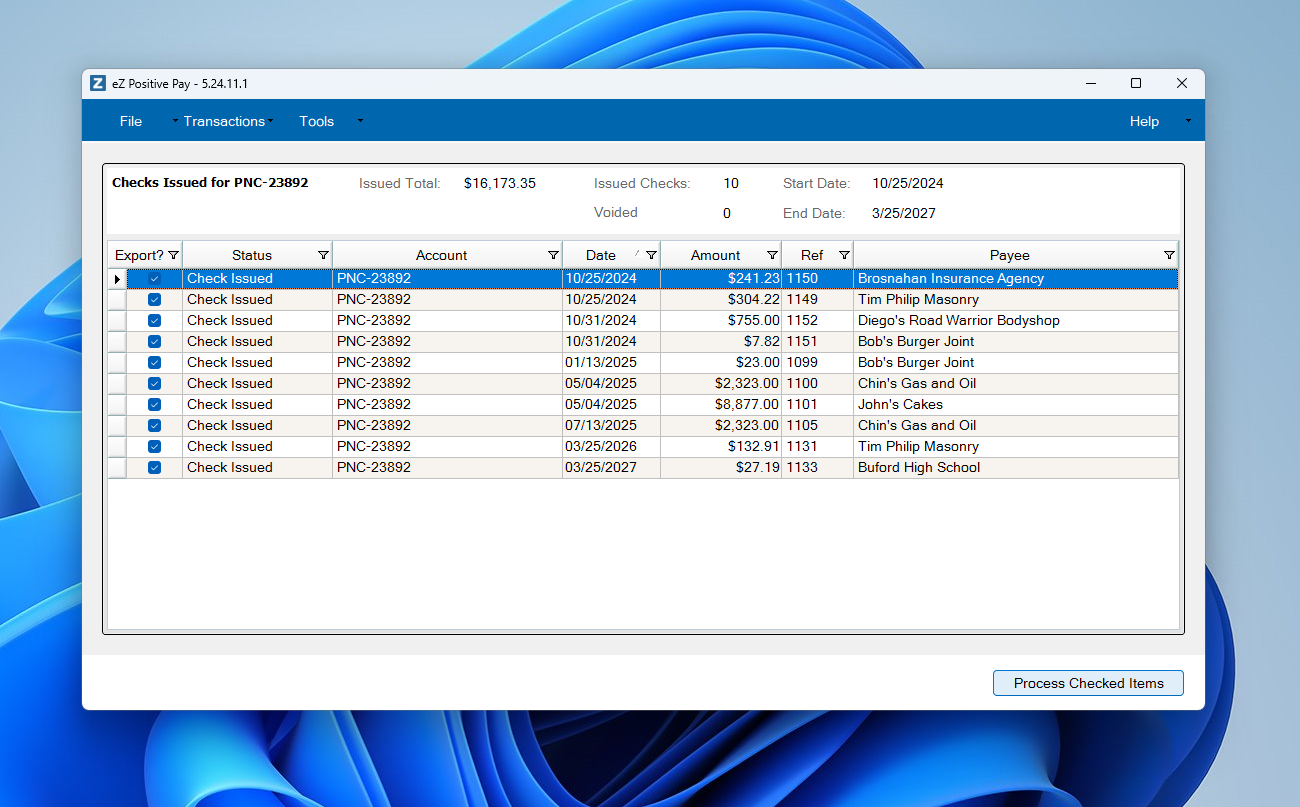
Generating Positive Pay File : Generate File
All the checks issued over the last 30 days which haven't been previously exported will be displayed in the Review Window. Any checks in QuickBooks which do not have a numeric Reference Number (Check Number) will be ignored.
Click the Process Checked Items button to generate your Positive Pay File
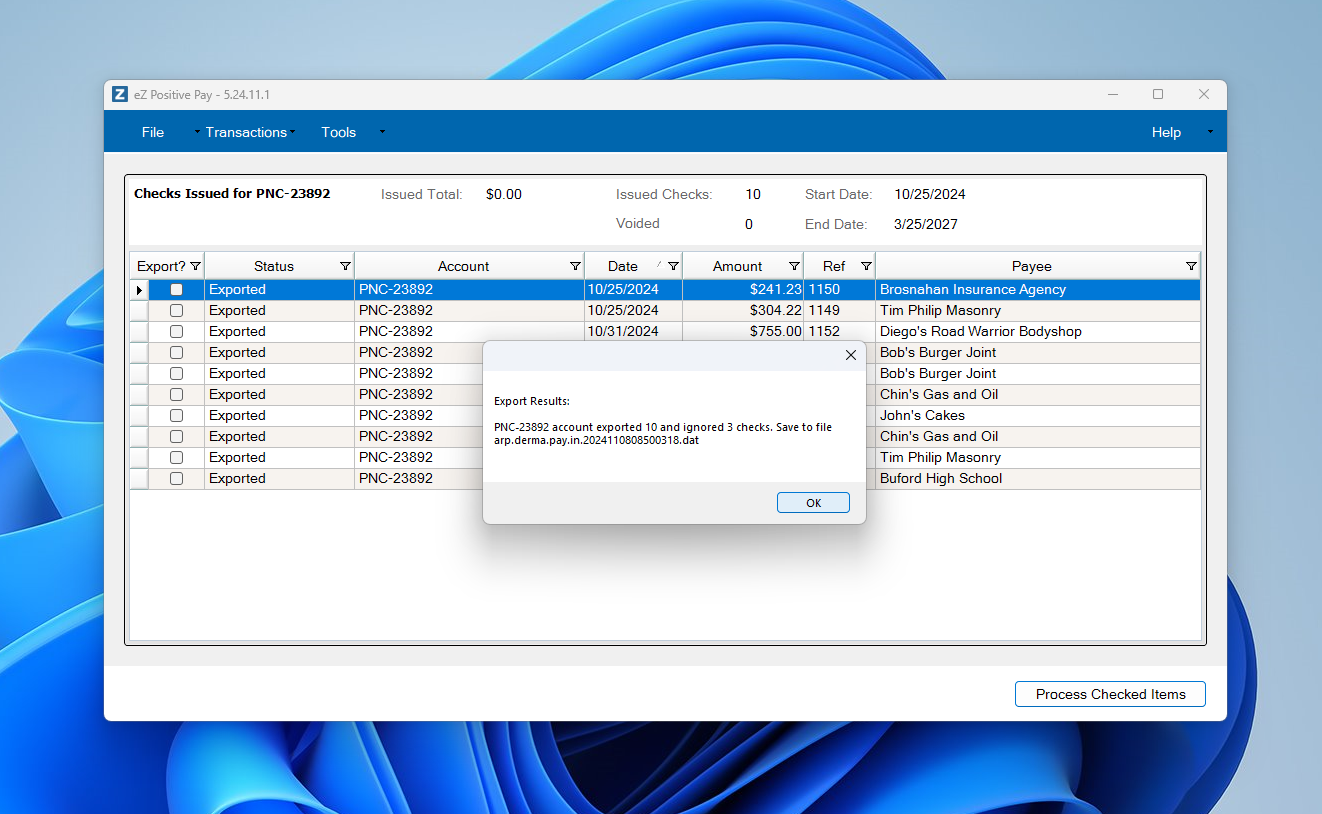
Export Confirmation
A confirmation window will be displayed specifying the number of transactions and file exported. Click OK button.
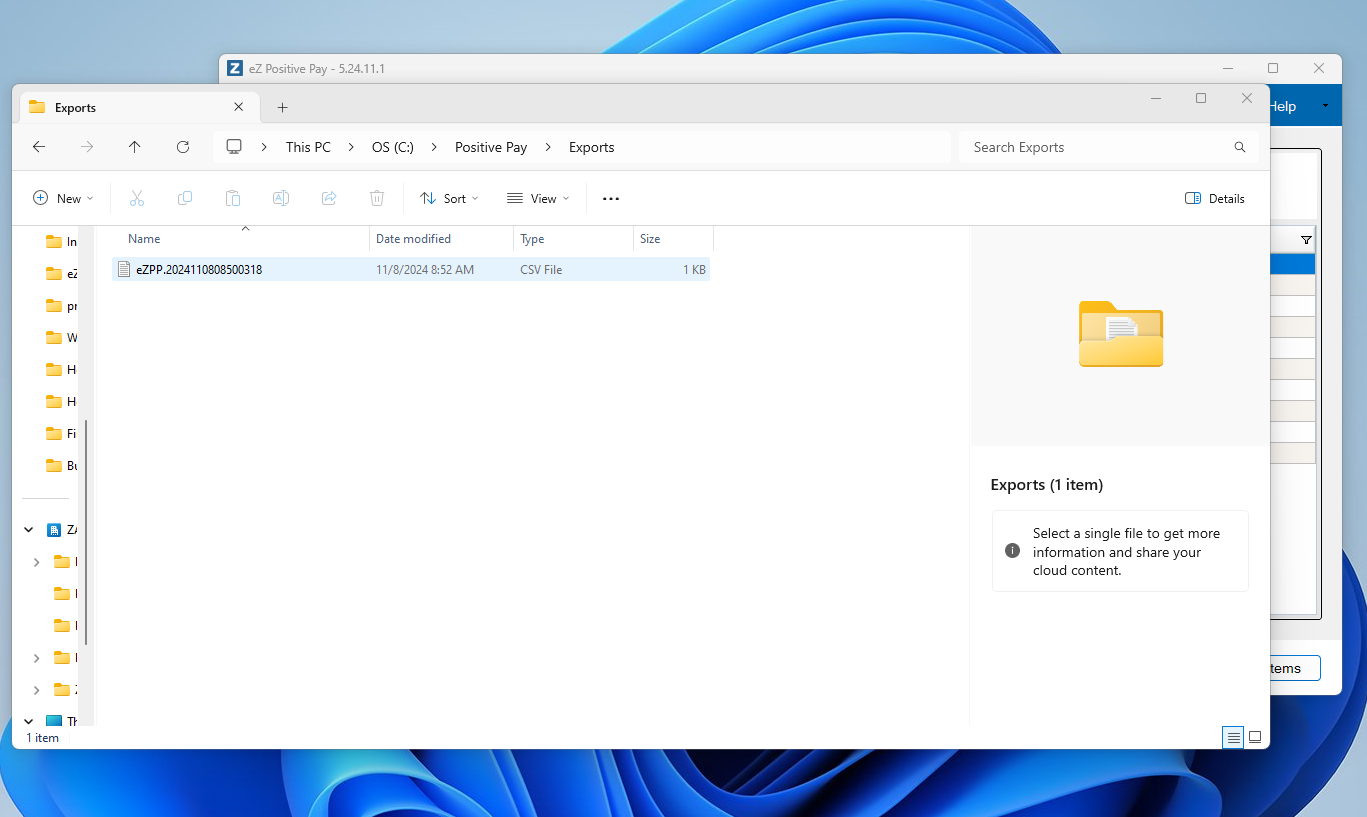
Positive Pay File
The file has been exported to the location specified in the User Preferences.
NOTE: if you are exporting a file to a CSV file format, do not open with Excel. This can change the formatting required by your Bank.
If you have any questions or need assistance in setting up eZ Positive Pay, please contact Support@ZacharySystems.com.