Configuring Accounts for ACH
Before creating your first payment file, you must configure eZ Payment for the QuickBooks account(s) that you want to generate an ACH File. The following outlines the steps for adding/modifying/deleting an account.
Adding a New Account
Step 1: Launch eZ Payment from your desktop.
Launch eZ Payment Shortcut
Step 2: Under tools select the Manage Account menu option.
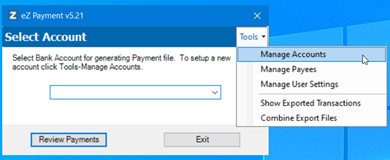
Select Manage Accounts
Step 3: The Manage Accounts Selection window is displayed. Click on the New button.

Manage Accounts Selection
Step 4: The Select Payment Type window is displayed. Enter a name for the payment account, select NACHA as the export format and select your QuickBooks version (QuickBooks Desktop or QuickBooks Online) Click on the Continue button.
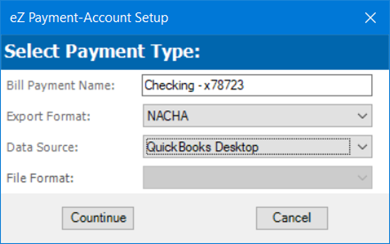
Select Payment Type
Step 5: Based upon the version of QuickBooks that you selected, you will be stepped through the process of connecting to QuickBooks.
Step 6: The Manage Accounts is displayed. Enter the information required for generating ACH Files. The window below highlights the required information. The yellow highlighted items should be provided by your bank. The blue items are ones you select. You also can setup the emails remittance parameters.
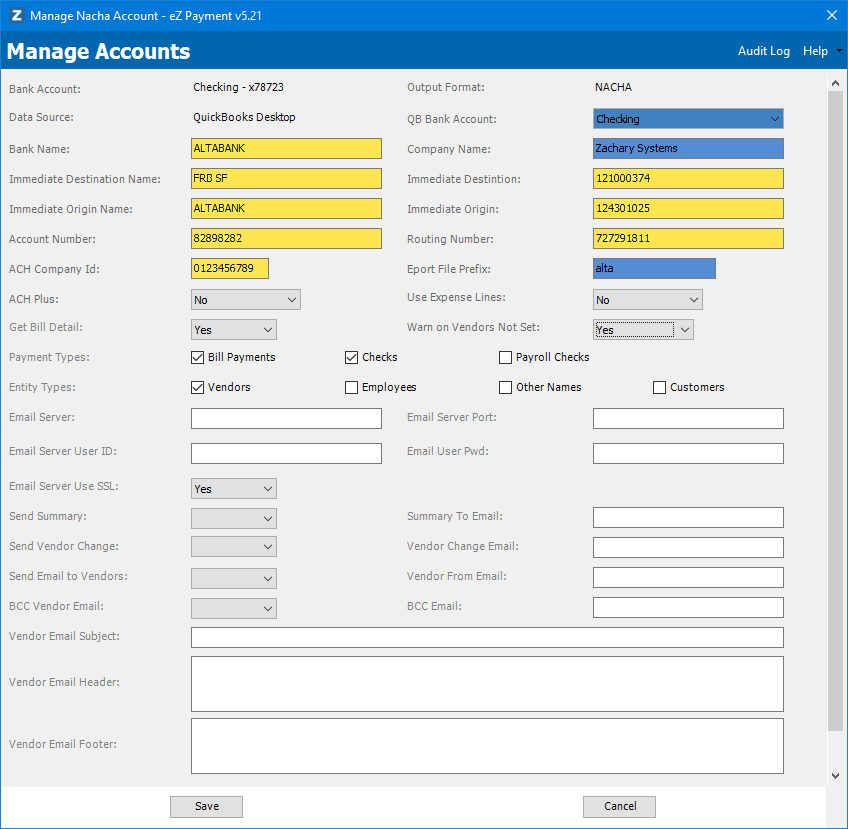
Config Account Window
Step 7: Click the Save buttton to save the changes. A confirmation window is displayed
Modifying an Account
Step 1: Launch eZ Payment from your desktop.
Launch eZ Payment Shortcut
Step 2: Under tools select the Manage Account menu option.
Select Manage Accounts
Step 3: The Manage Accounts Selection window is displayed. Select the account to modify and click the Edit button.
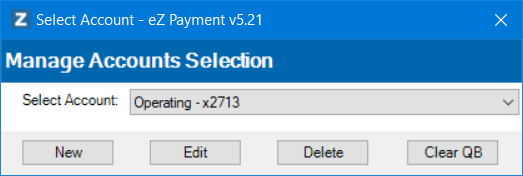
Manage Accounts Selection
Step 5: The Manage Accounts window is displayed with the configuration for the account. Modify any of the fields and click the save button.
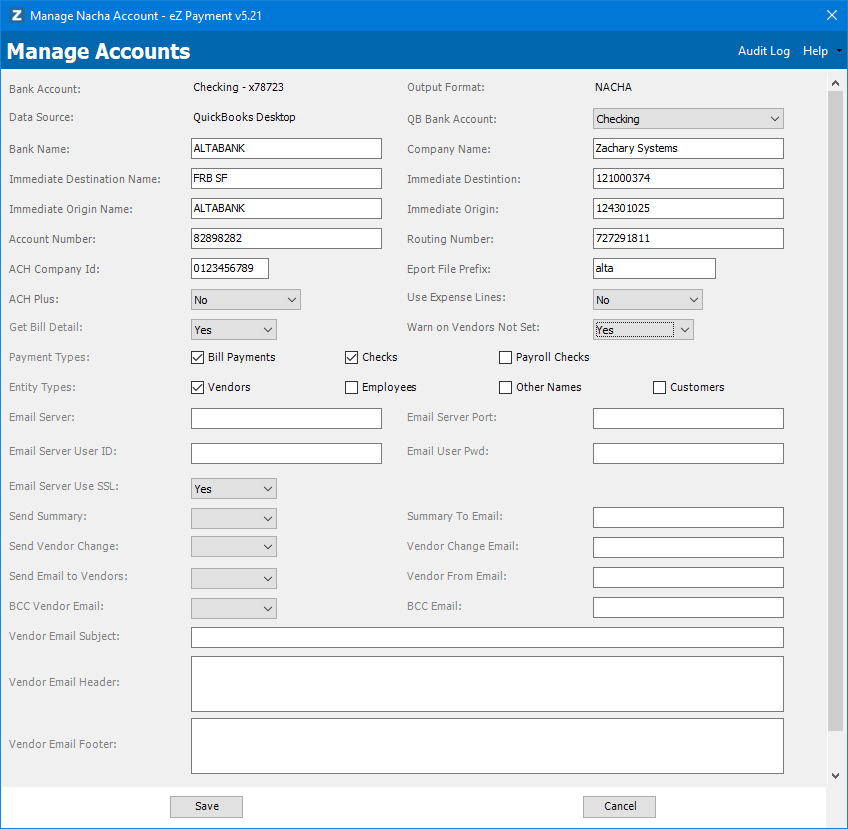
Manage Account Window
Deleting an Account
Warning!! Deleting an account is permanent.
Step 1: Launch eZ Payment from your desktop.
Launch eZ Payment Shortcut
Step 2: Under tools select the Manage Account menu option.
Select Manage Accounts
Step 3: The Manage Accounts Selection window is displayed. Select the account to delete and click the Delete button.
Manage Accounts Selection
Step 4: A confirmation window will be displayed. Select Yes to delete the configuration.